Procedural Naval Warfare
Command an archipelago. Survive the escalation.
Every map is different. Every choice matters. Tehre are no do-overs.
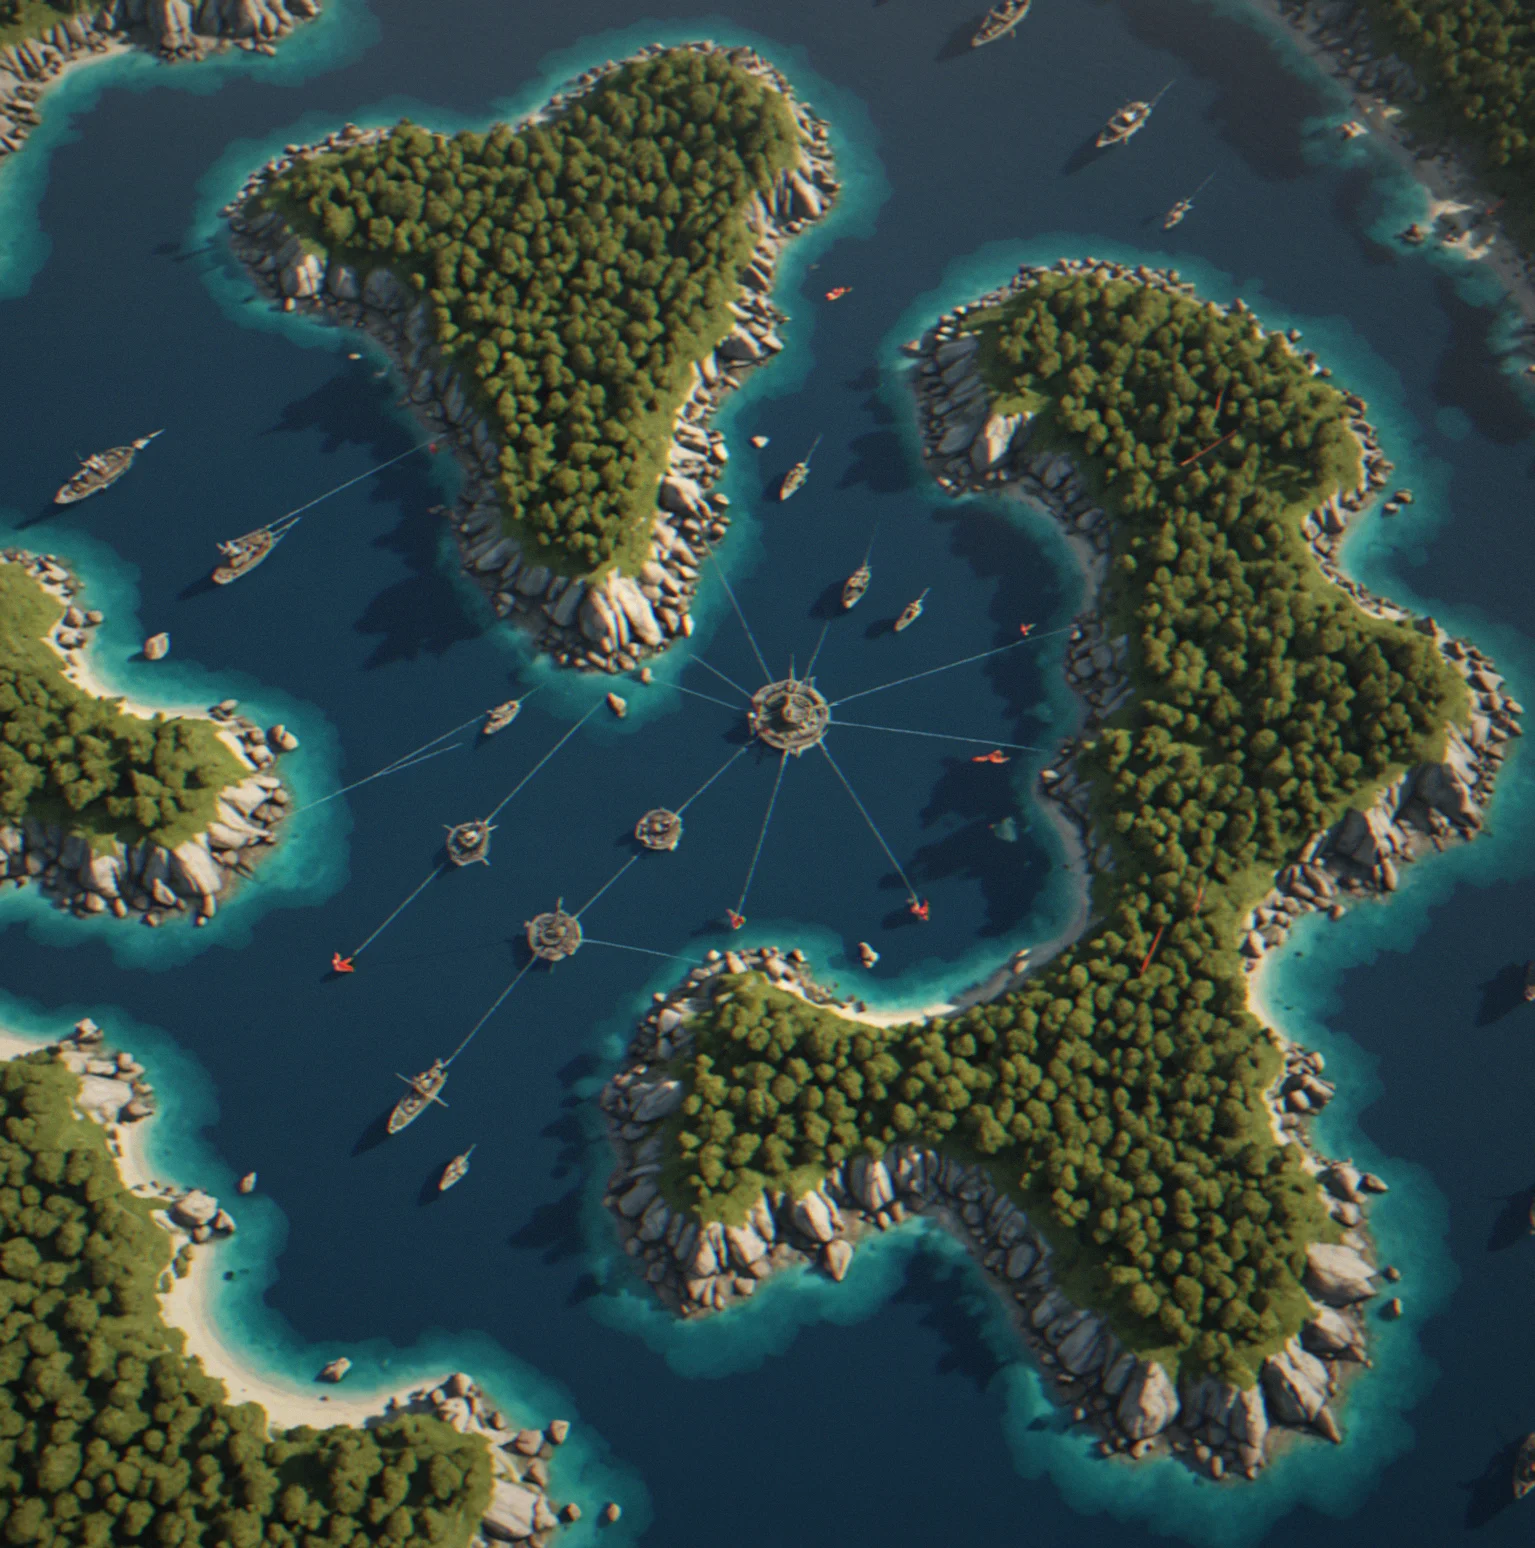
You're in charge of anchor points spread across an archipelago that's different every time you play. Resources don't grow back. Enemy fleets keep testing your defenses, probing for weaknesses, pushing you to decide which islands are actually worth holding. You defend territory you've fought for against waves of harder threats—or you lose it. Each campaign gets a fresh map, but your tactical experience stays with you. That's what roguelike naval strategy feels like.
How PlayAnchor Works
The mechanics that drive every campaign
Procedural Map Generation
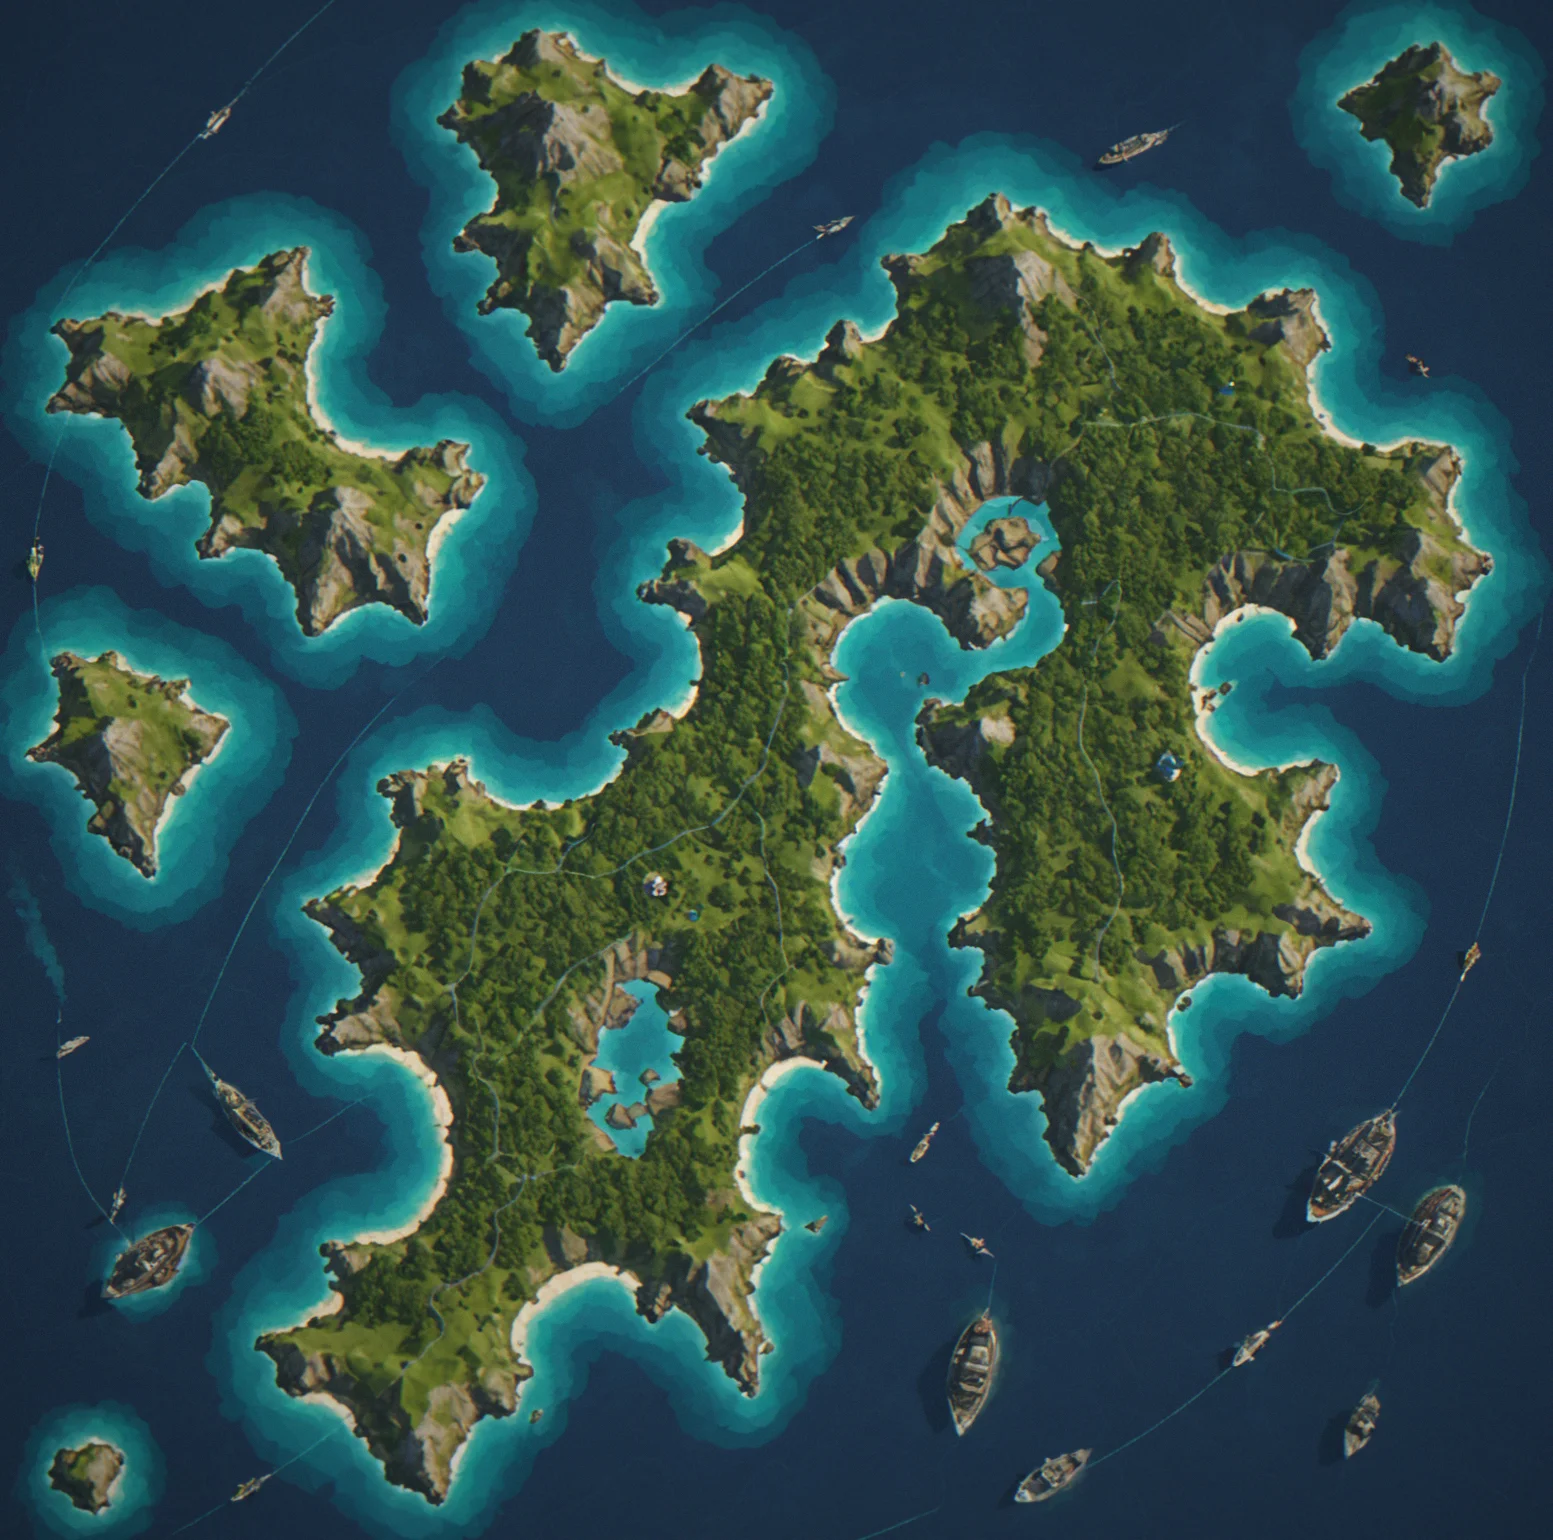
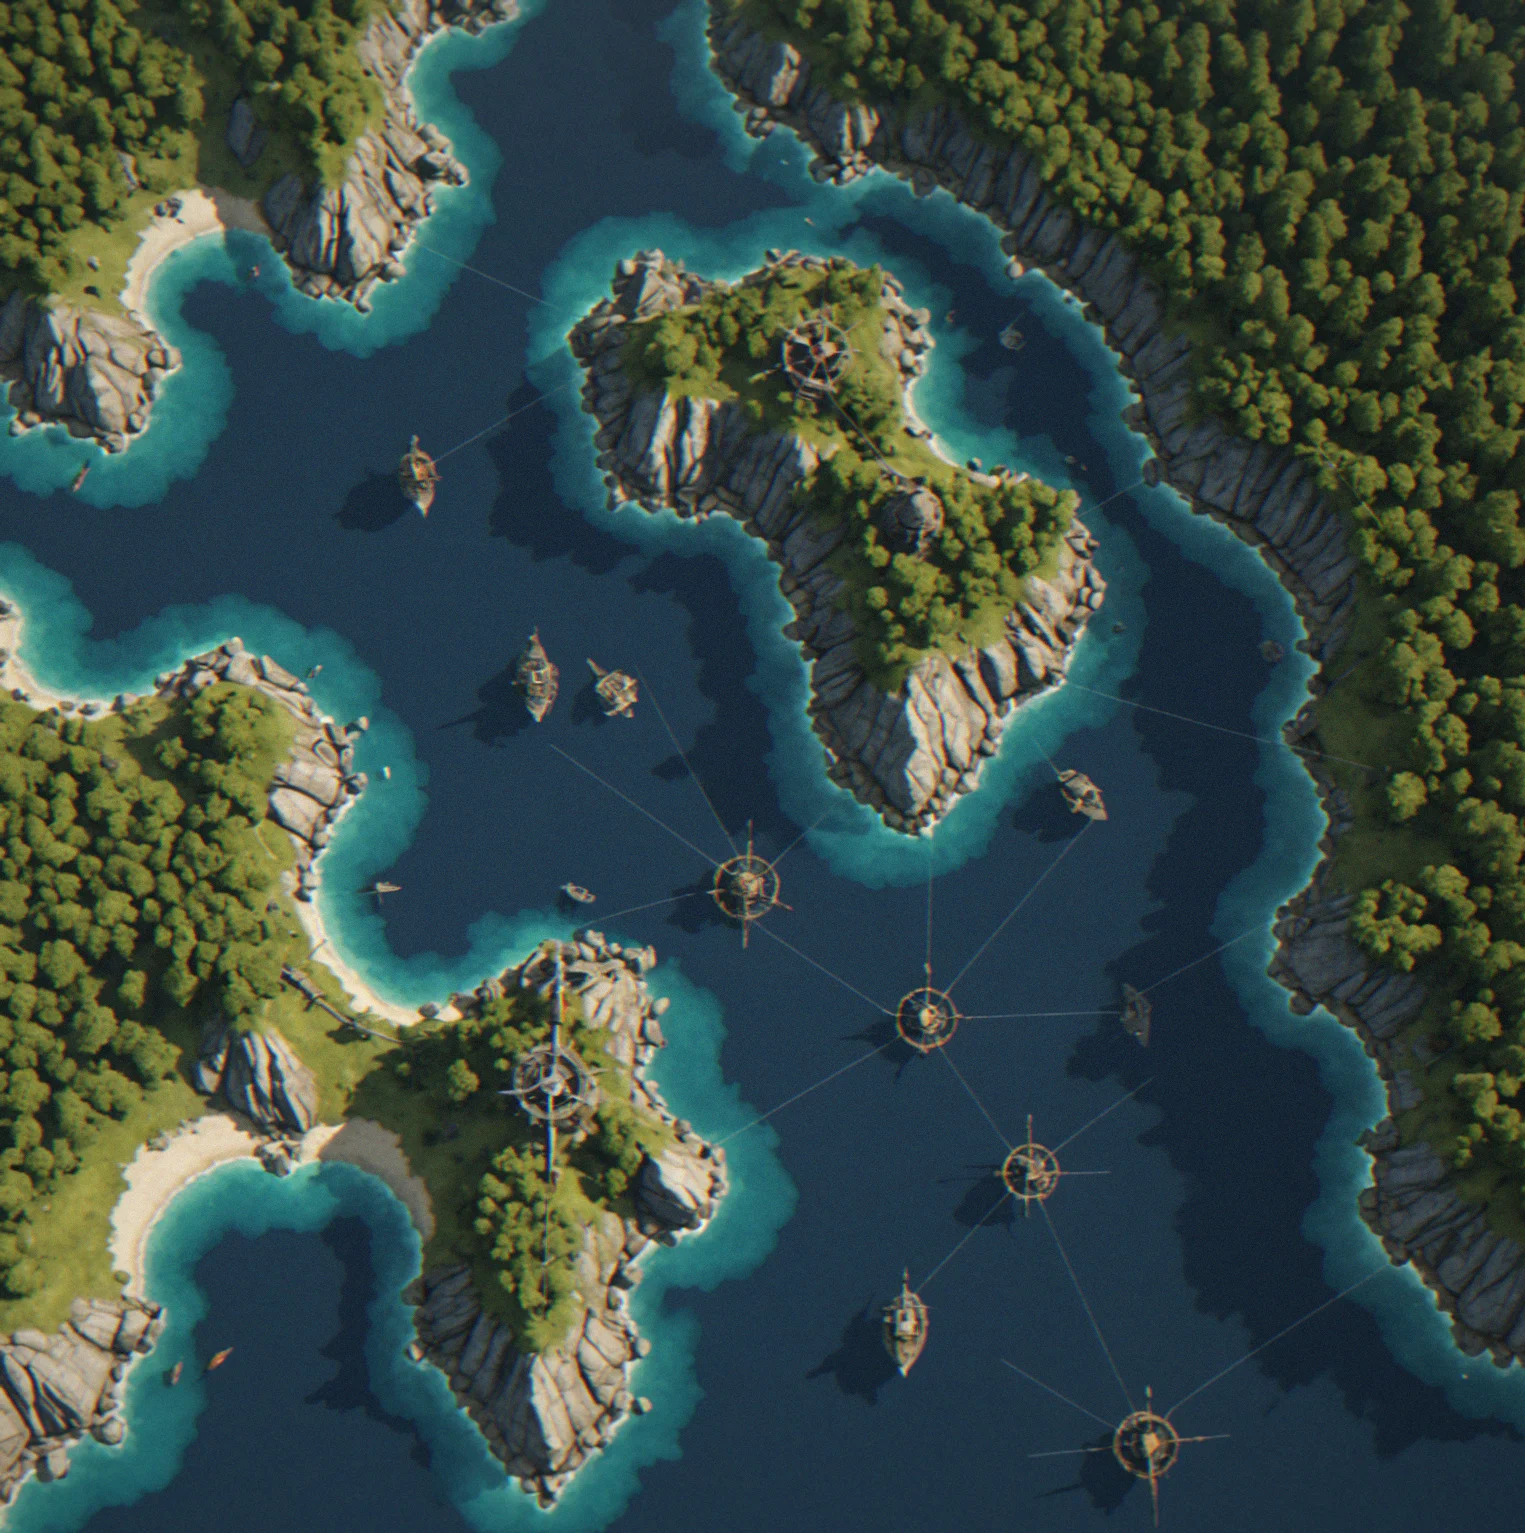
Every campaign spins up a completely new archipelago. Island counts shift around, resource piles land in different spots, choke points show up where you didn't expect them. Nothing repeats. You can't just learn one opening move and run it the same way fifty times in a row. The system forces you to actually adapt.
Anchor Point Fortification
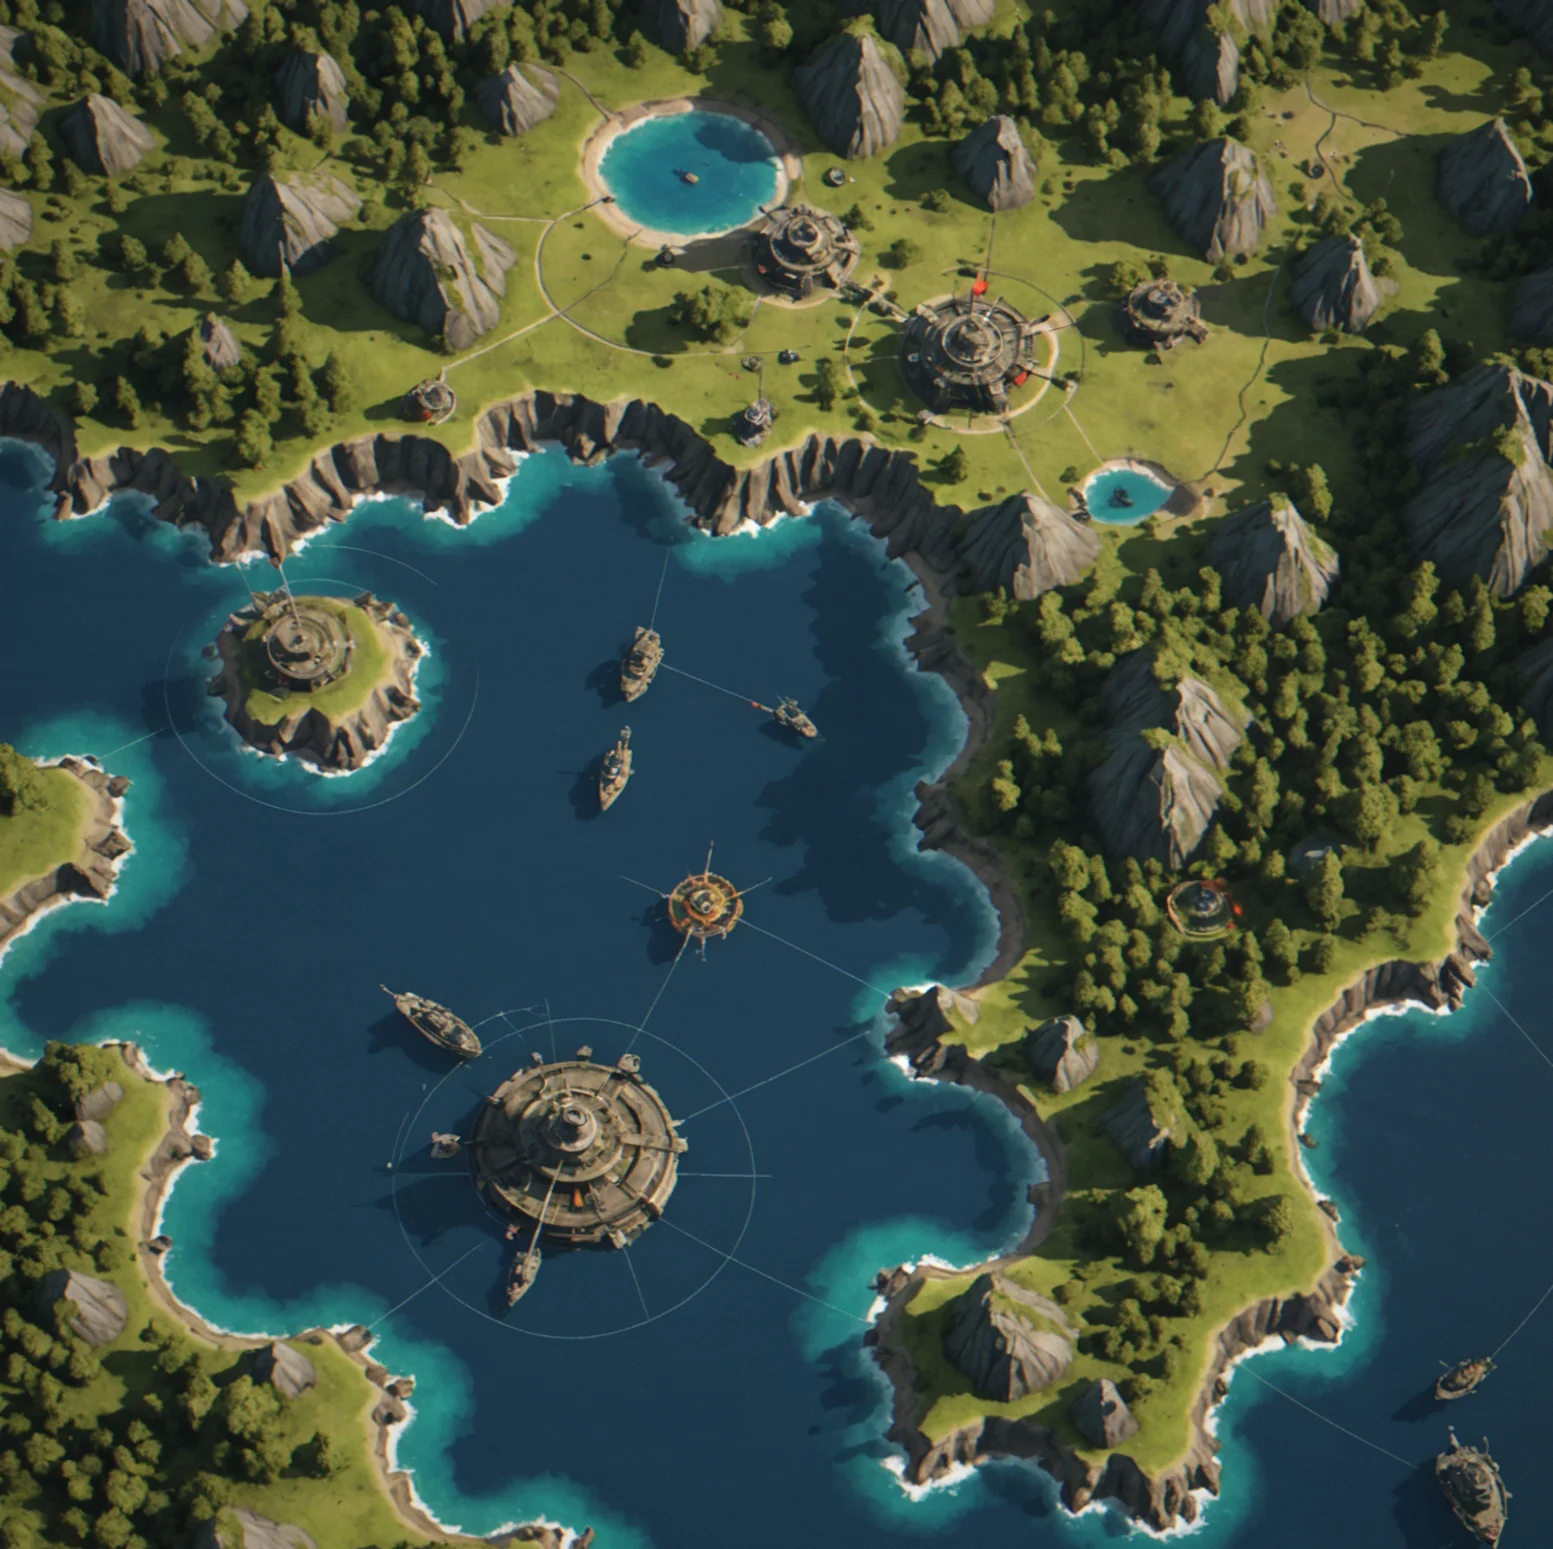
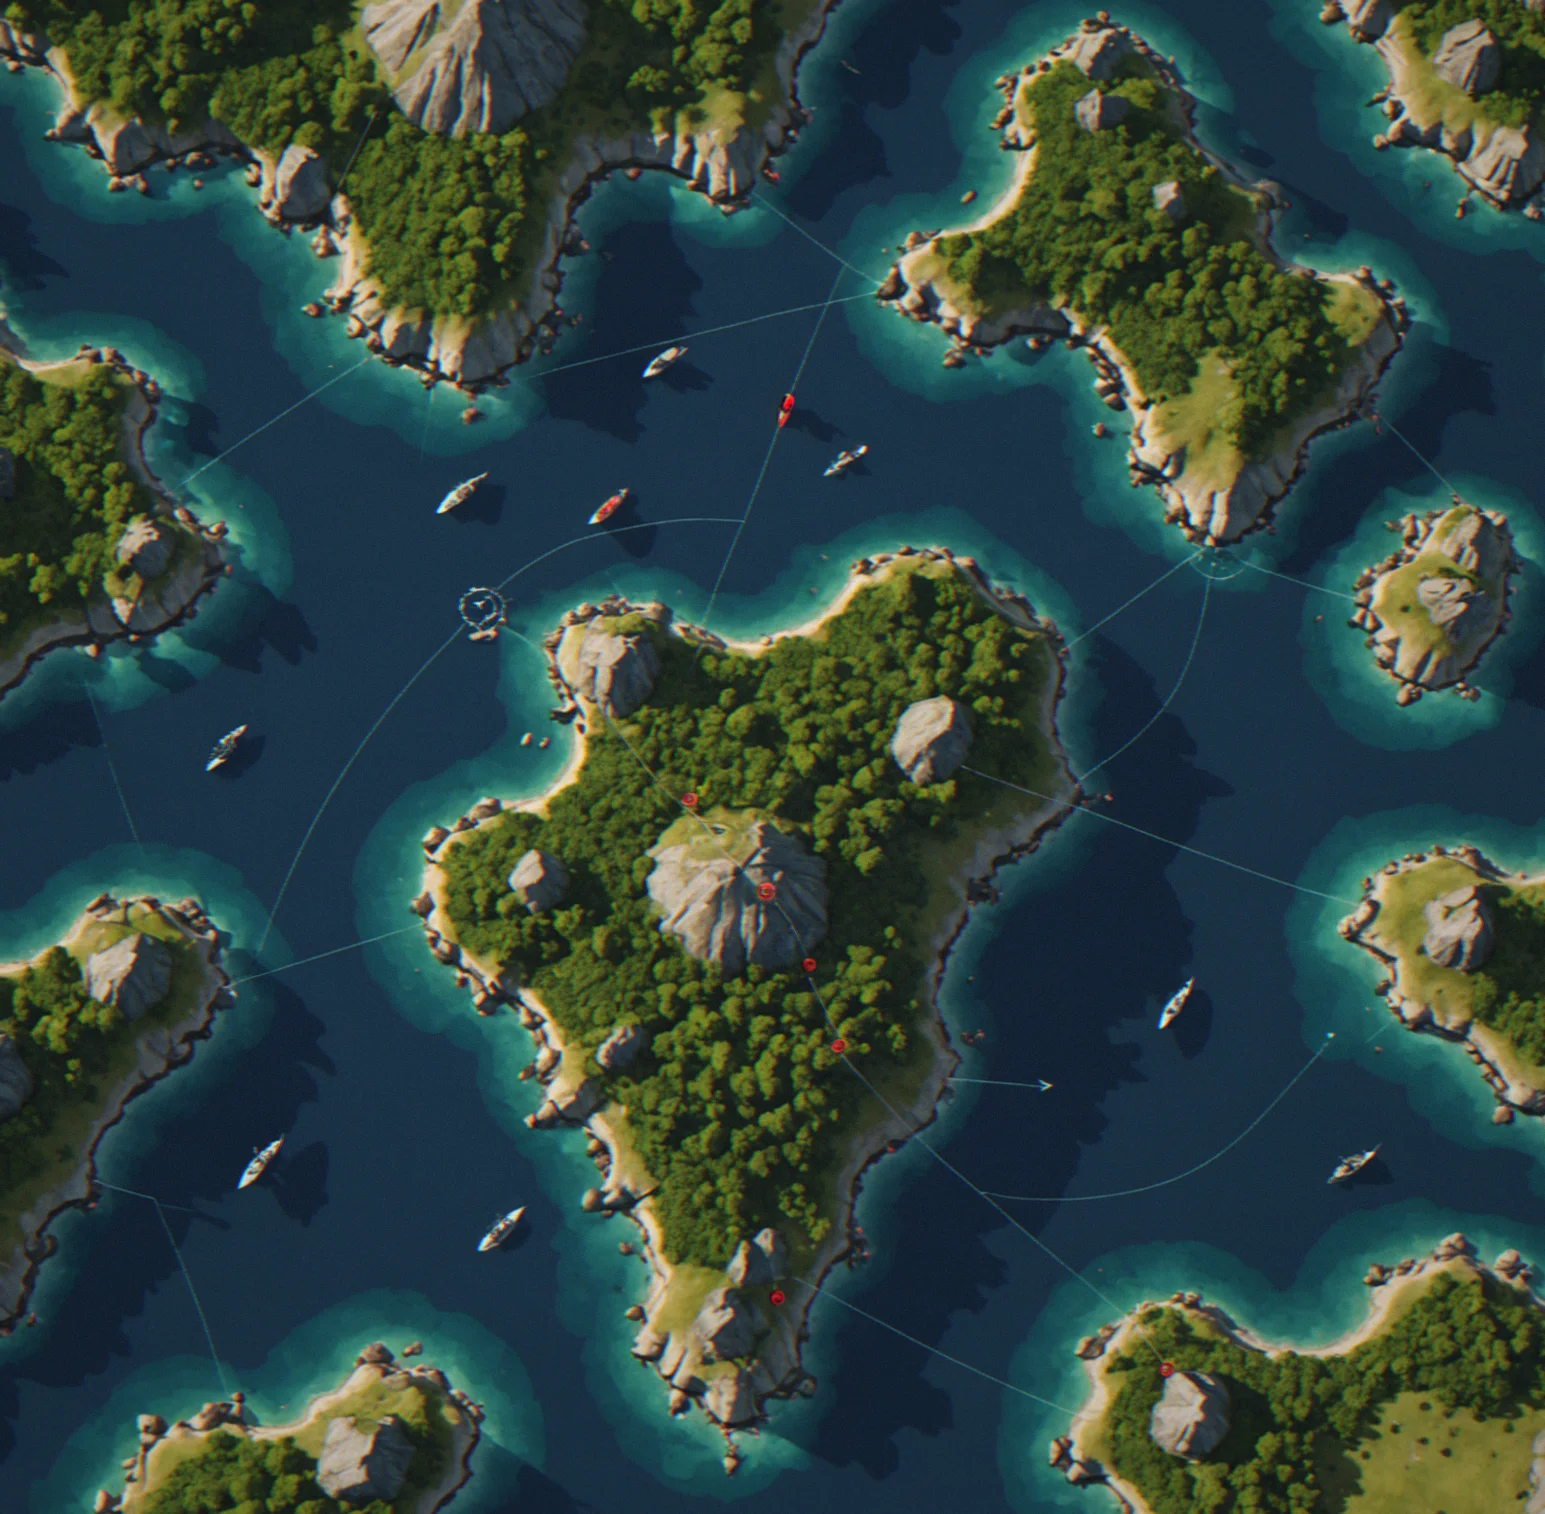
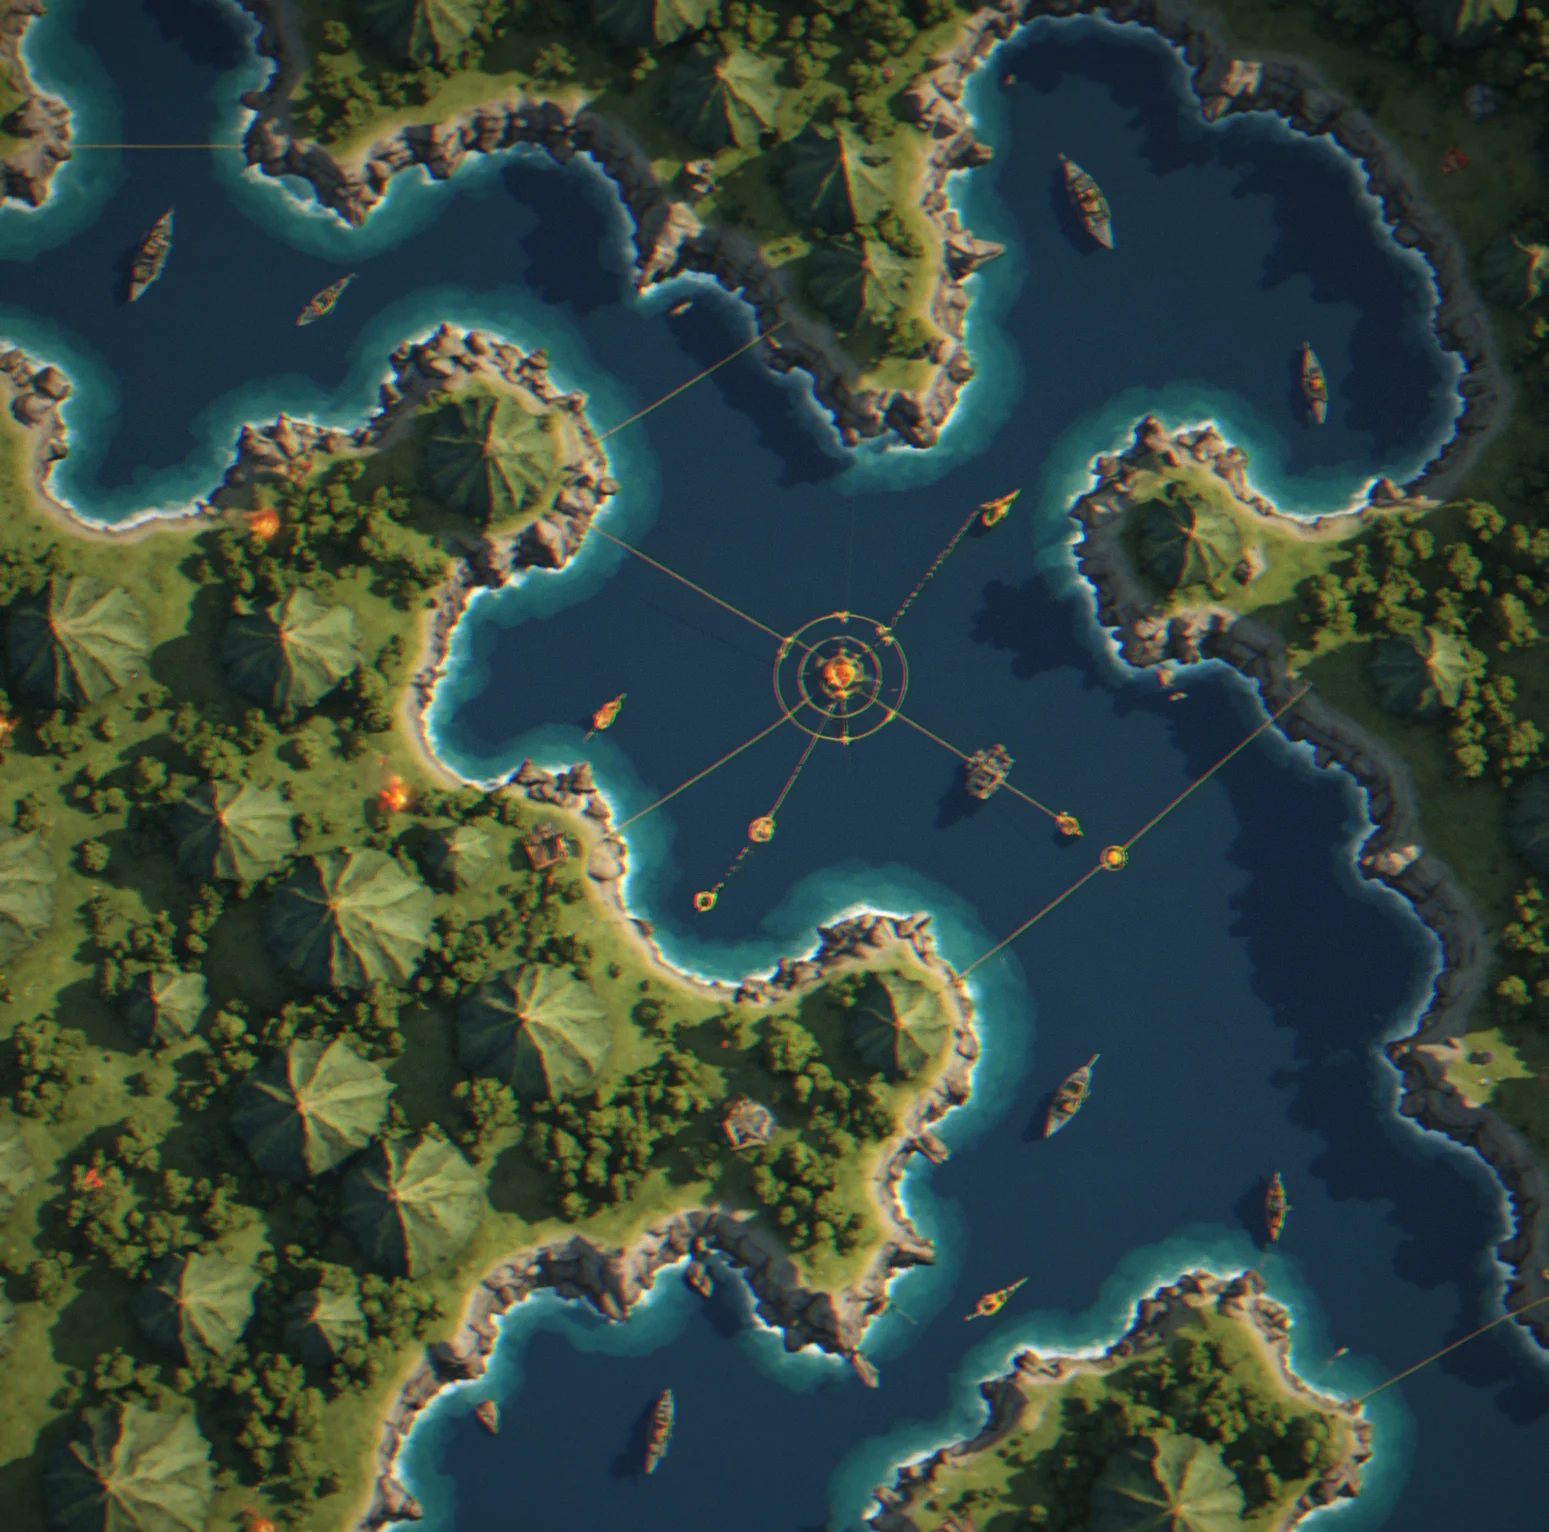
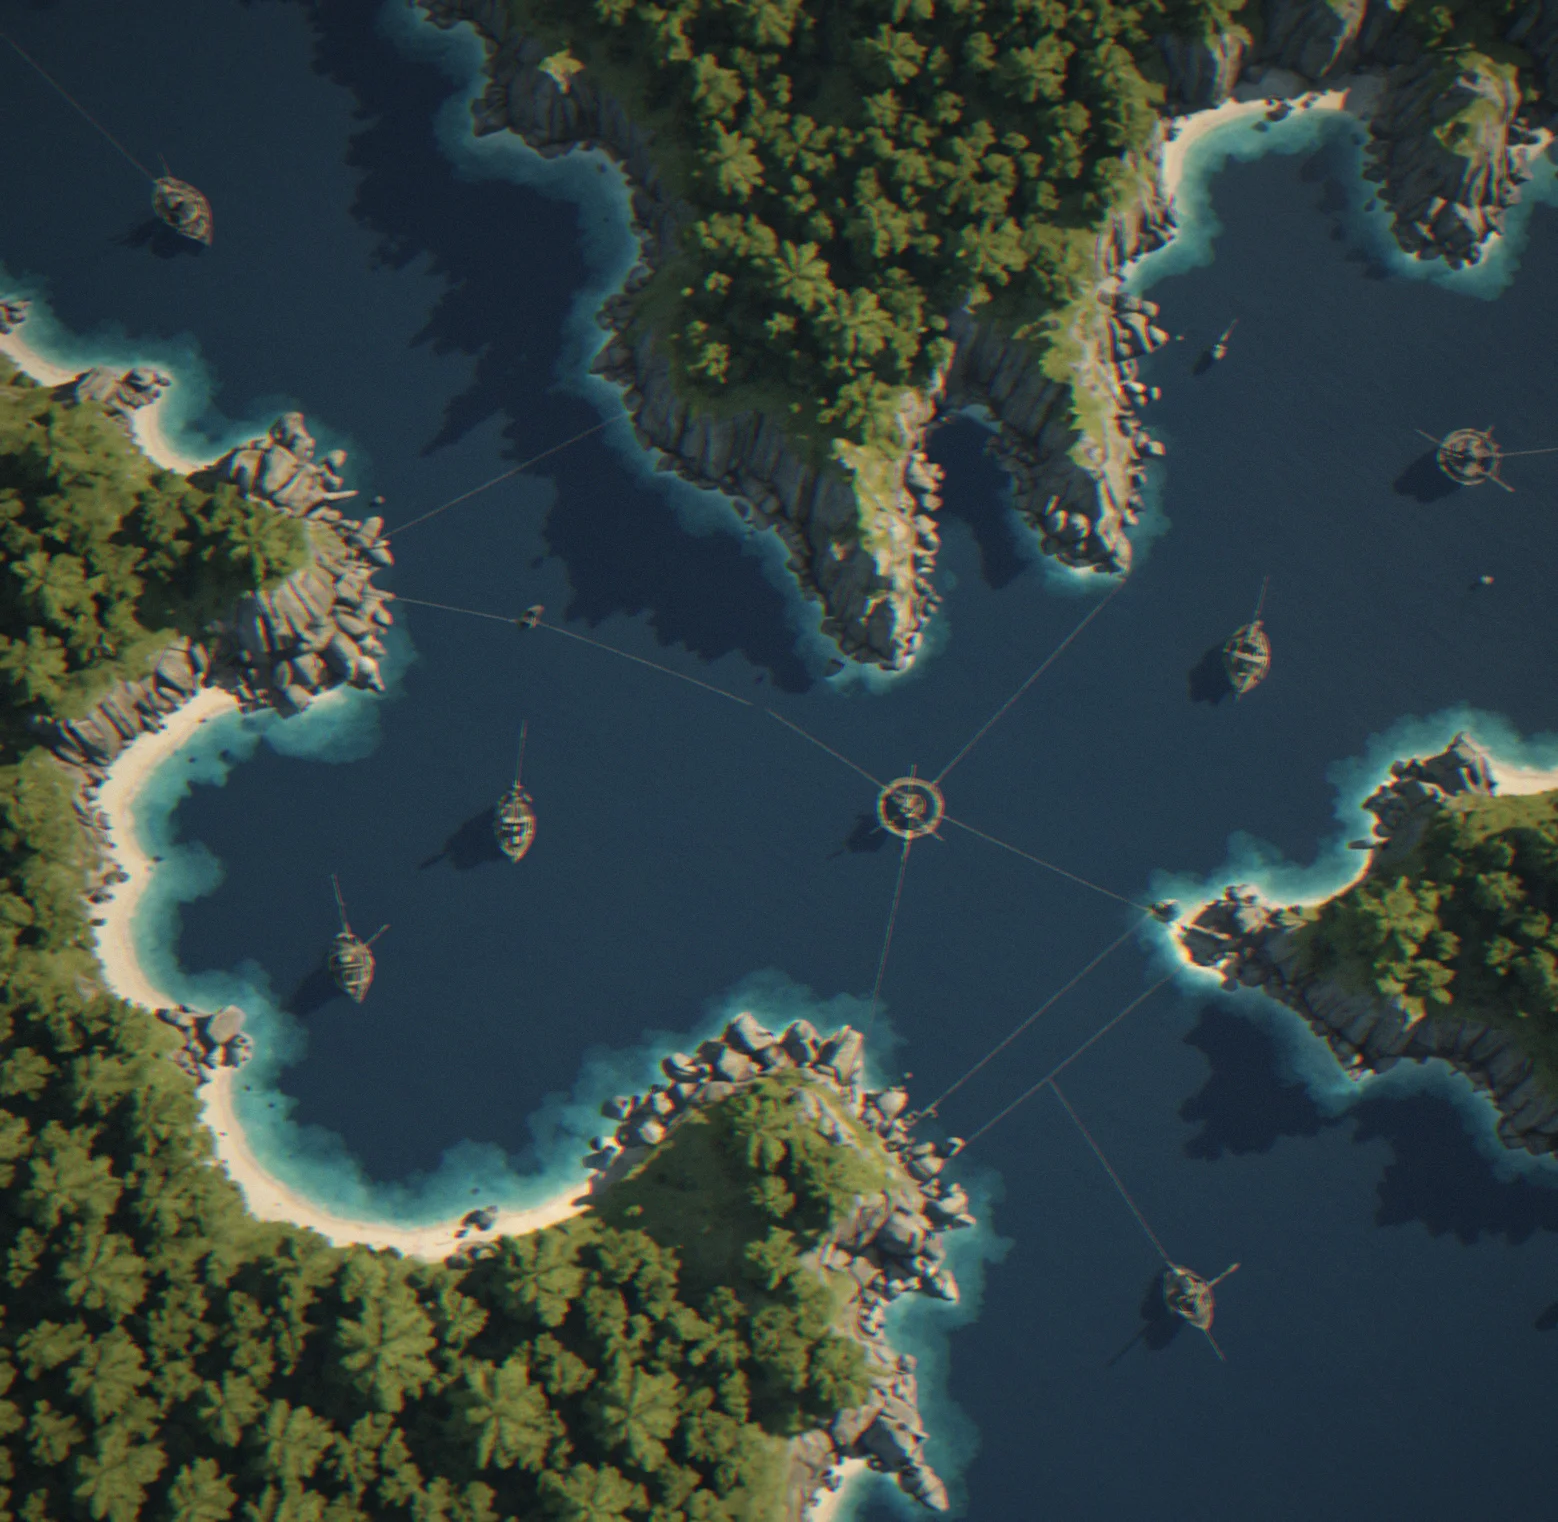
Your islands are control nodes. Sink resources into fortifying one and you lock down that region hard—but everywhere else becomes vulnerable. Go thin everywhere and the whole thing collapses when pressure comes. You're constantly figuring out what actually needs defending and what you're willing to lose.
Supply Line Mechanics
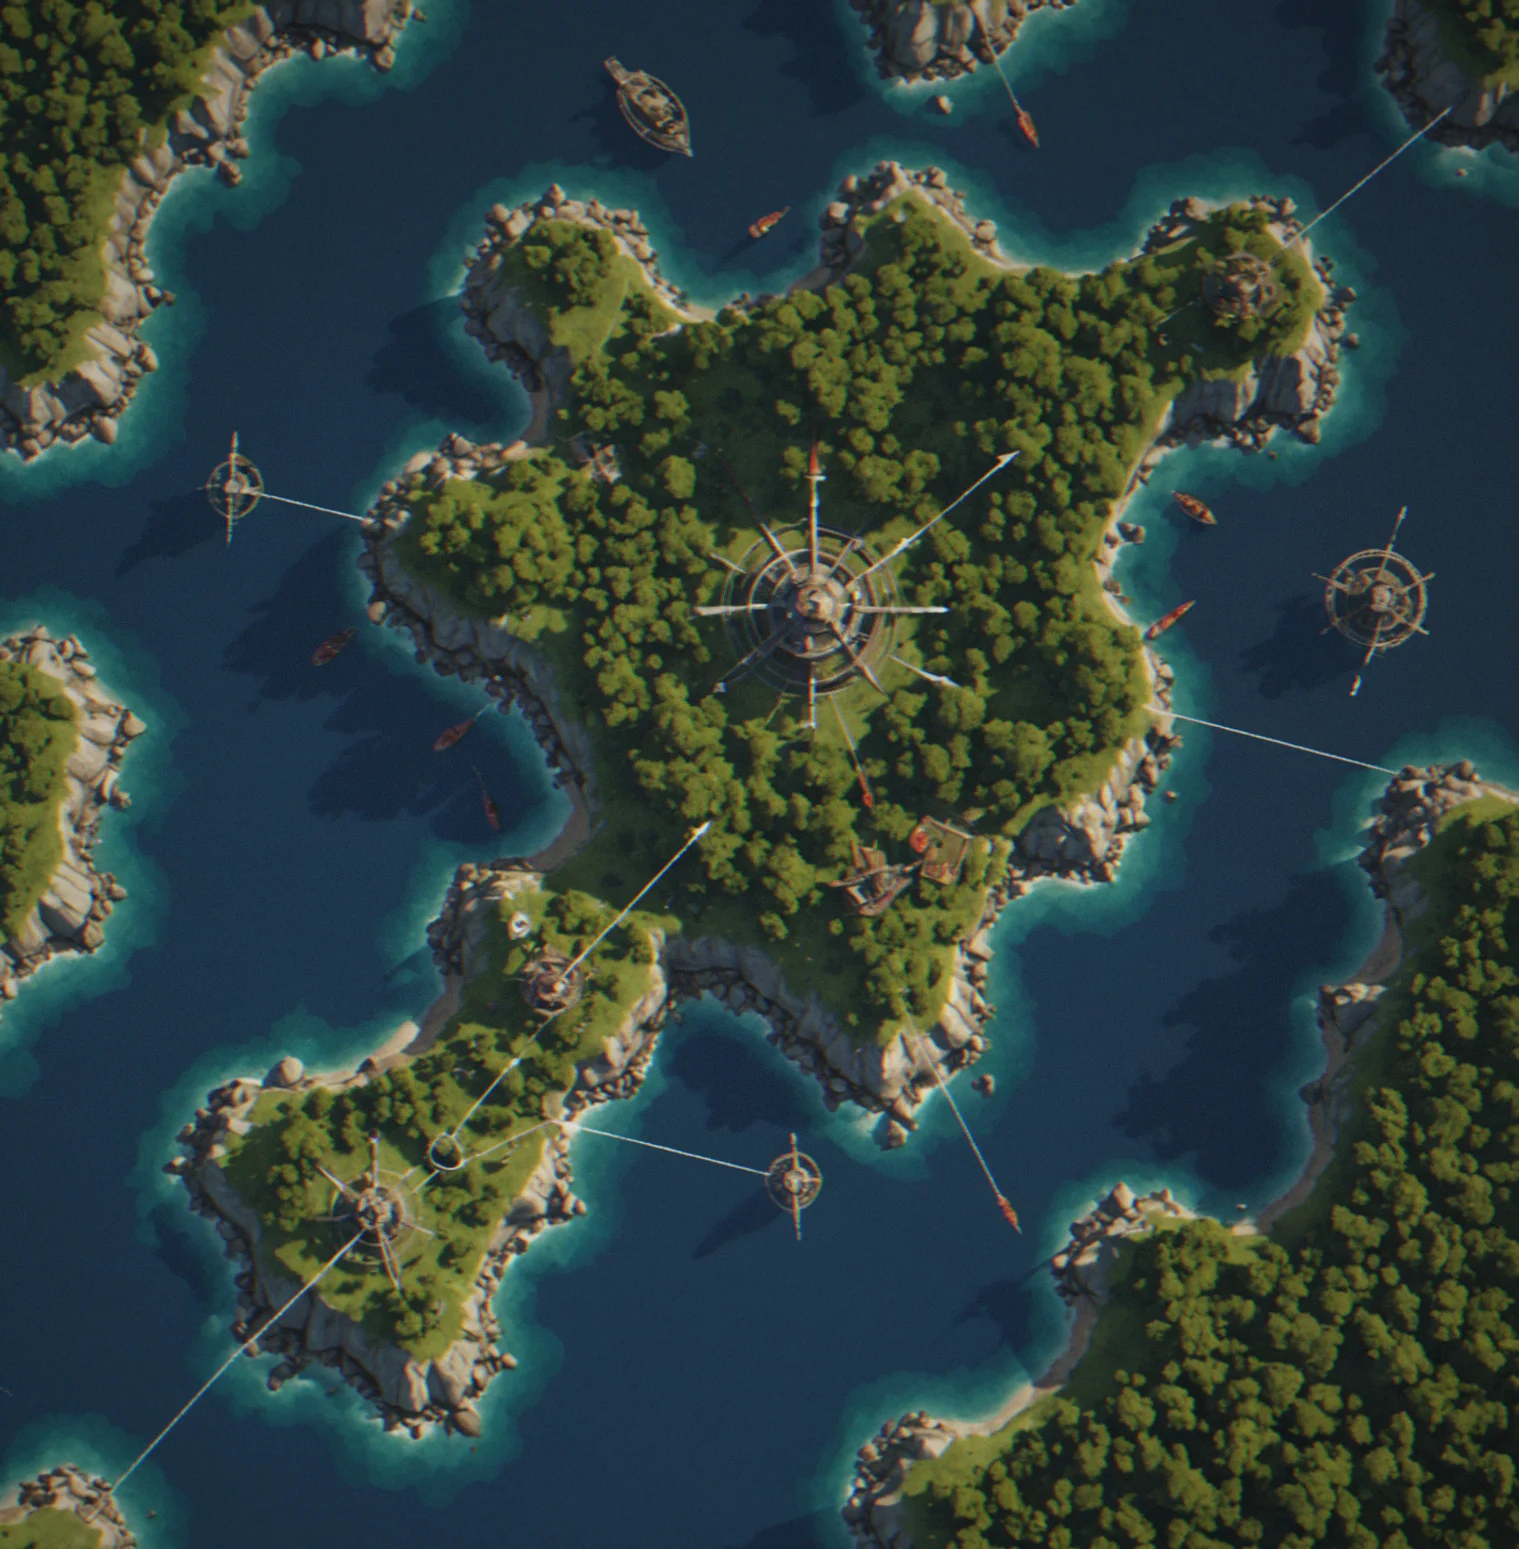
Resources move between islands using actual sea routes you can see. Choke off an enemy's supply path and their military falls apart. Defending multiple routes though? That pulls your navy in different directions. You're always balancing ships protecting your flow against ships that could actually go hit something.
Resource Scarcity
Wood gets you ships. Metal upgrades your weapons. Provisions keep crew morale from tanking. You start with modest amounts and more trickles in slowly. Building a frigate burns 25 metal and takes 4 turns, but your enemy moves every single turn too. There's almost never enough to do everything you want at once.
Escalating Threat Waves
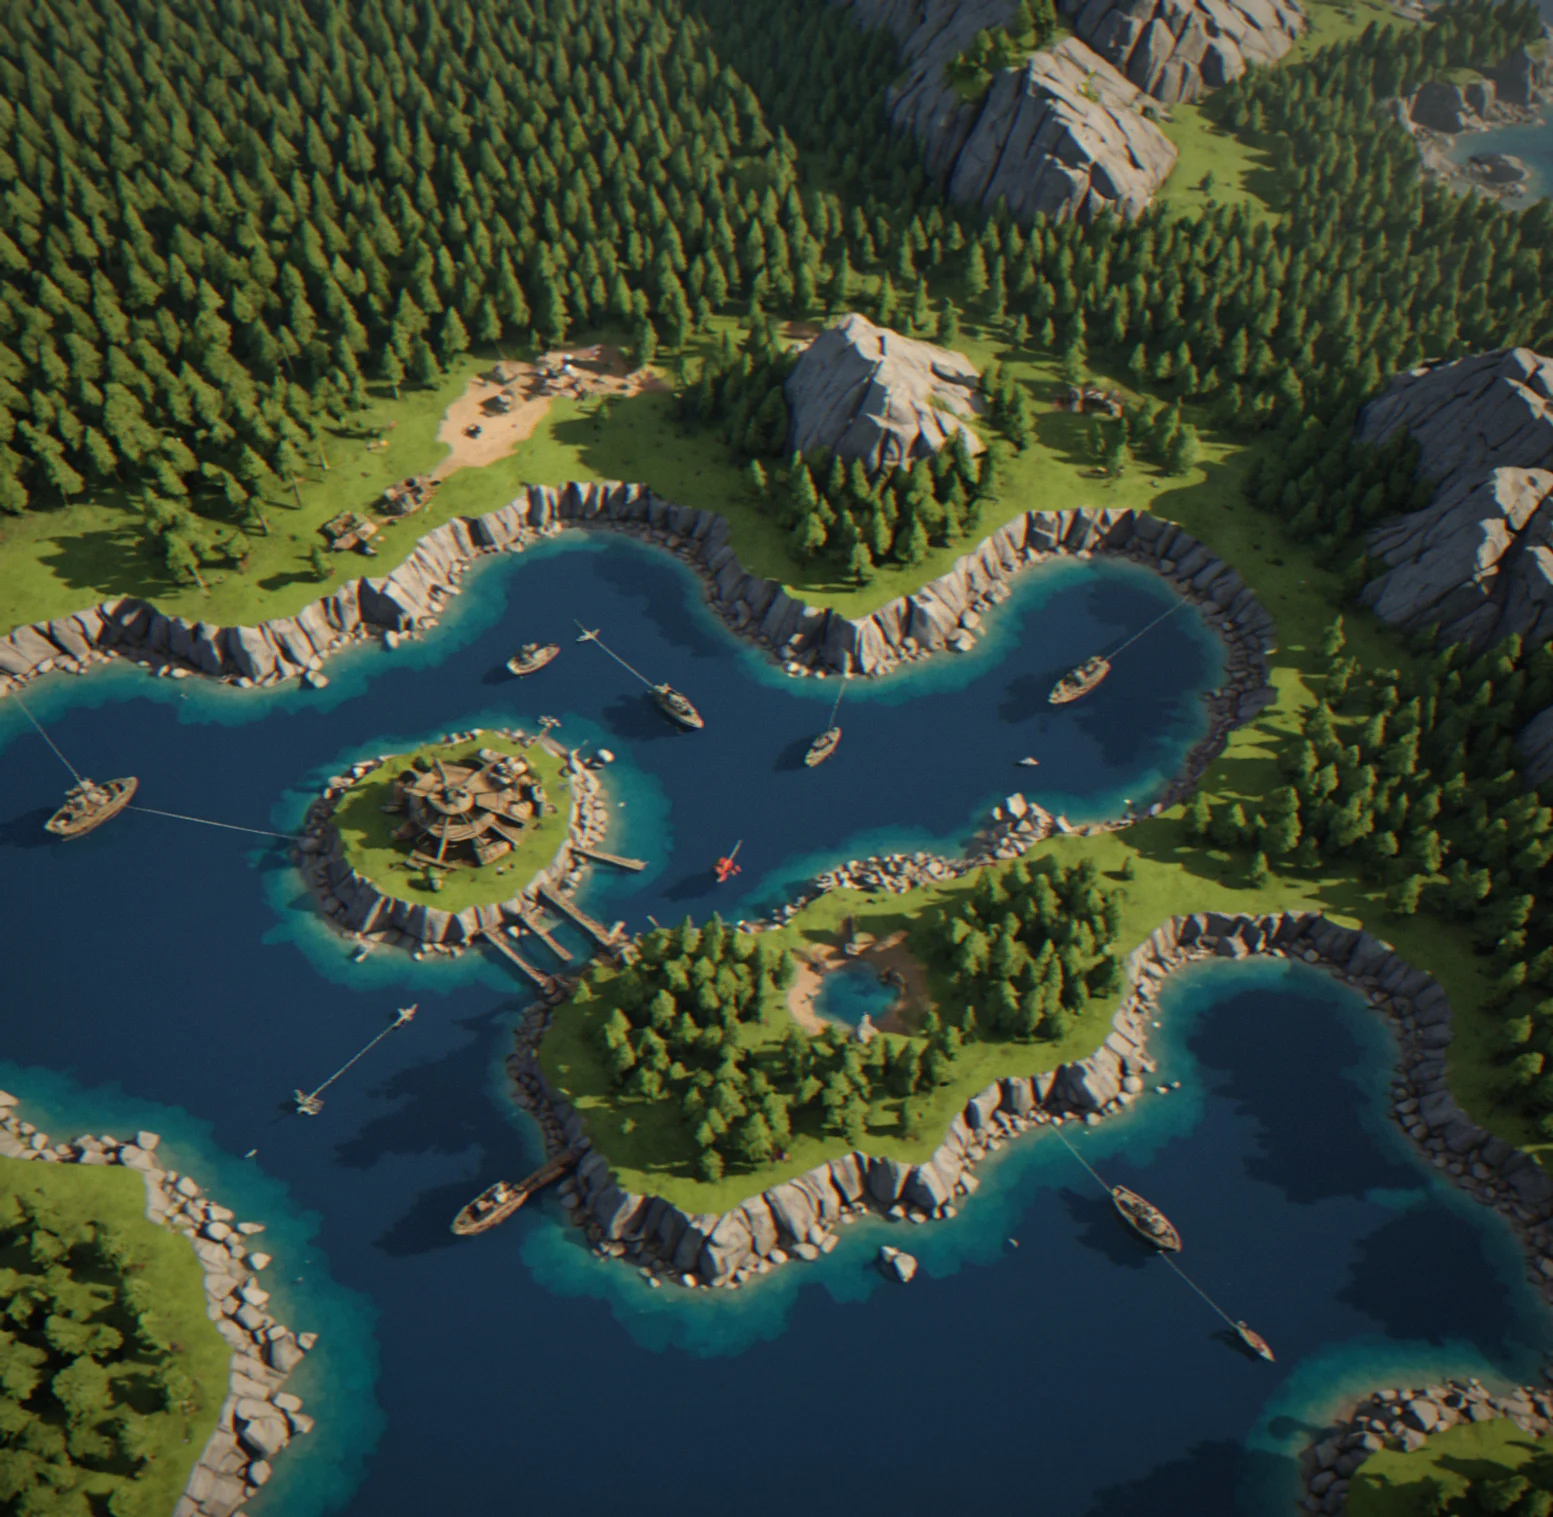
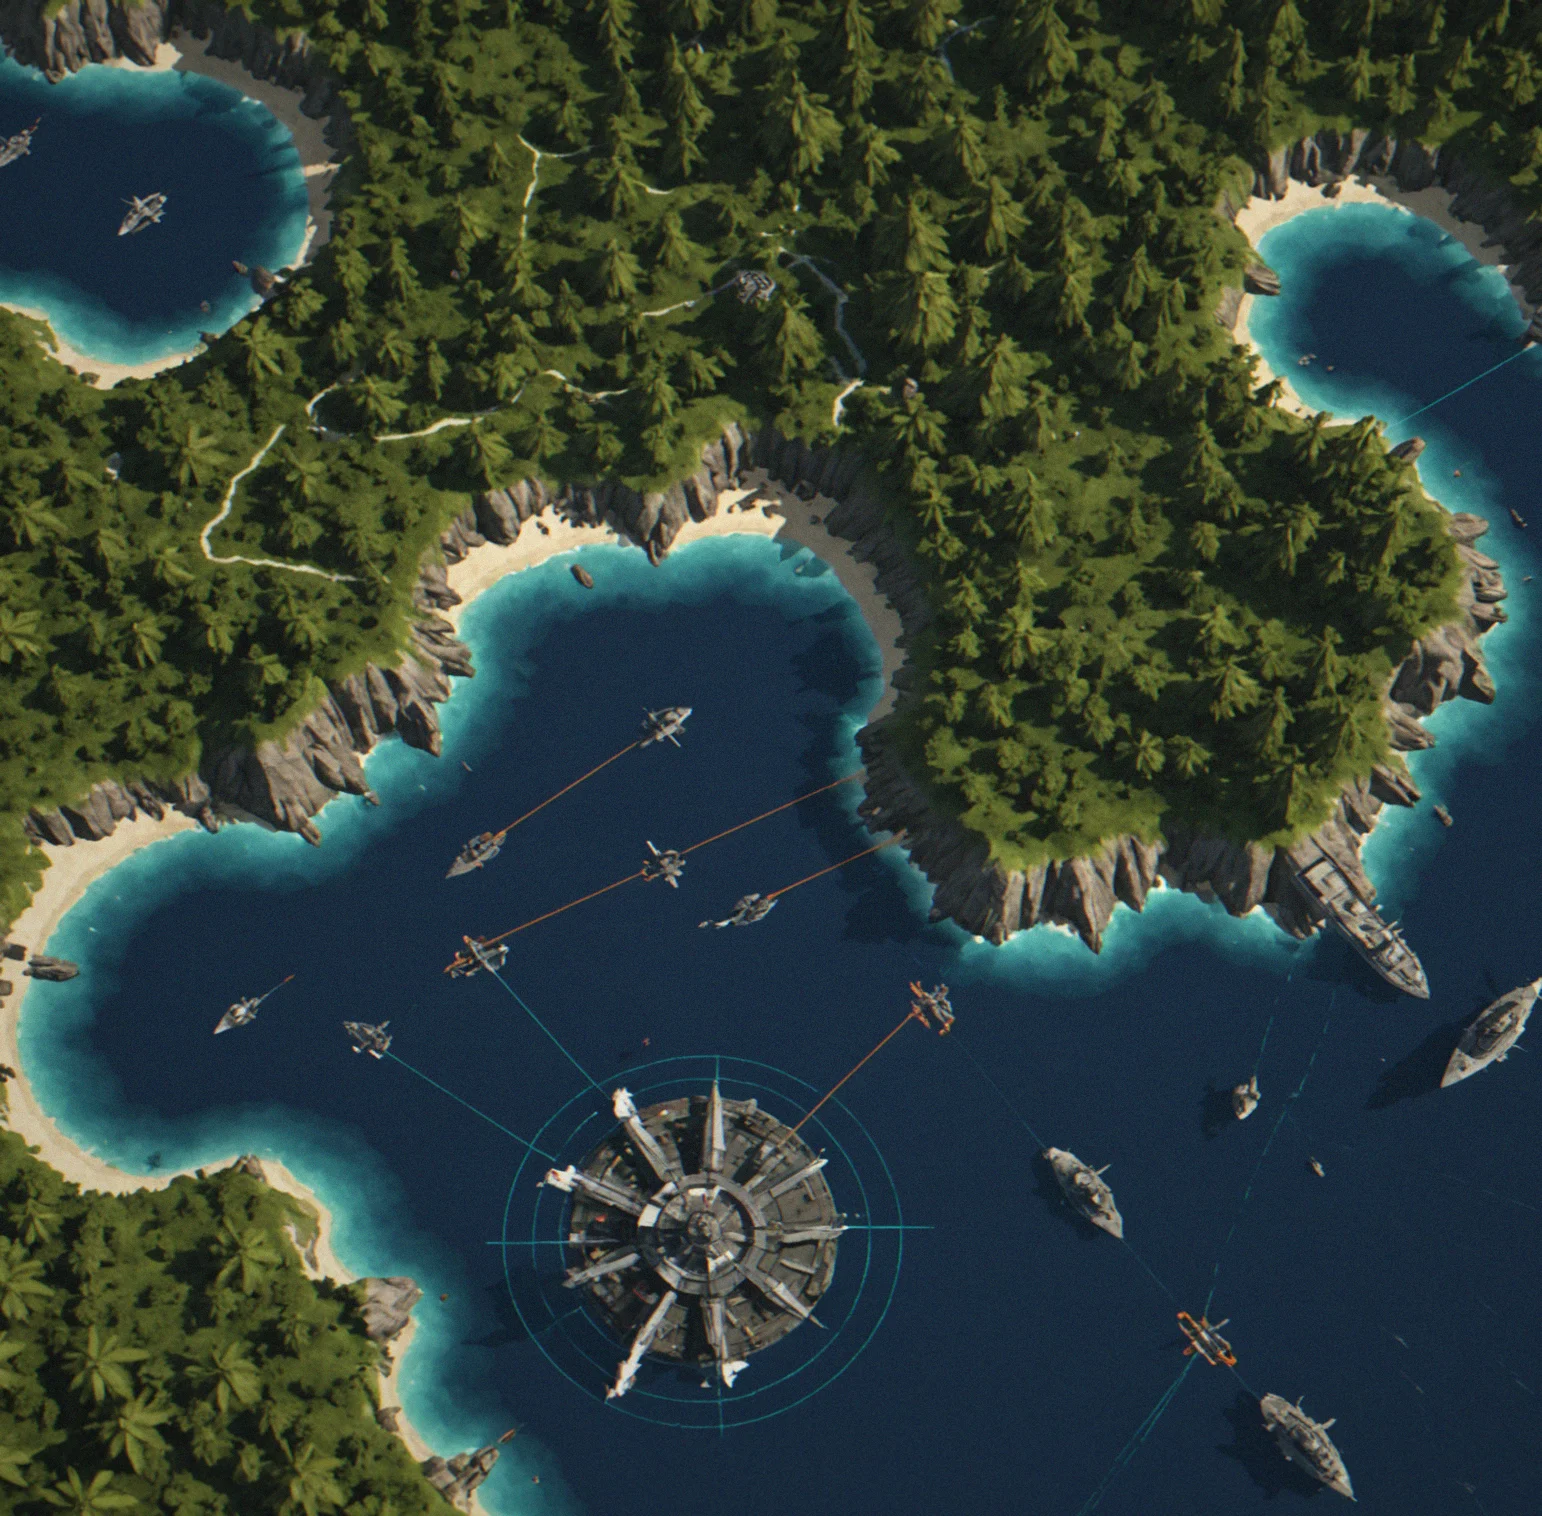
At the start you're dealing with lone patrols—annoying but manageable. Then the middle game hits and coordinated strike groups test every part of your defenses at once. By late game enemy fleets split across three different attack vectors and you can only properly hold two of them. That third one matters.
Permadeath with Progression
Lose and you're starting over from nothing. No permanent unlocks, no difficulty scaling to soften the blow. What does carry forward is what you learned. You start recognizing map patterns, spootting the timing windows, knowing which early moves work against which archipelago shapes. The learning curve is brutal, but that's kind of the whole thing. Each new run feels like you're actually using knowledge instead of just grinding.
Turn-Based Decision Windows
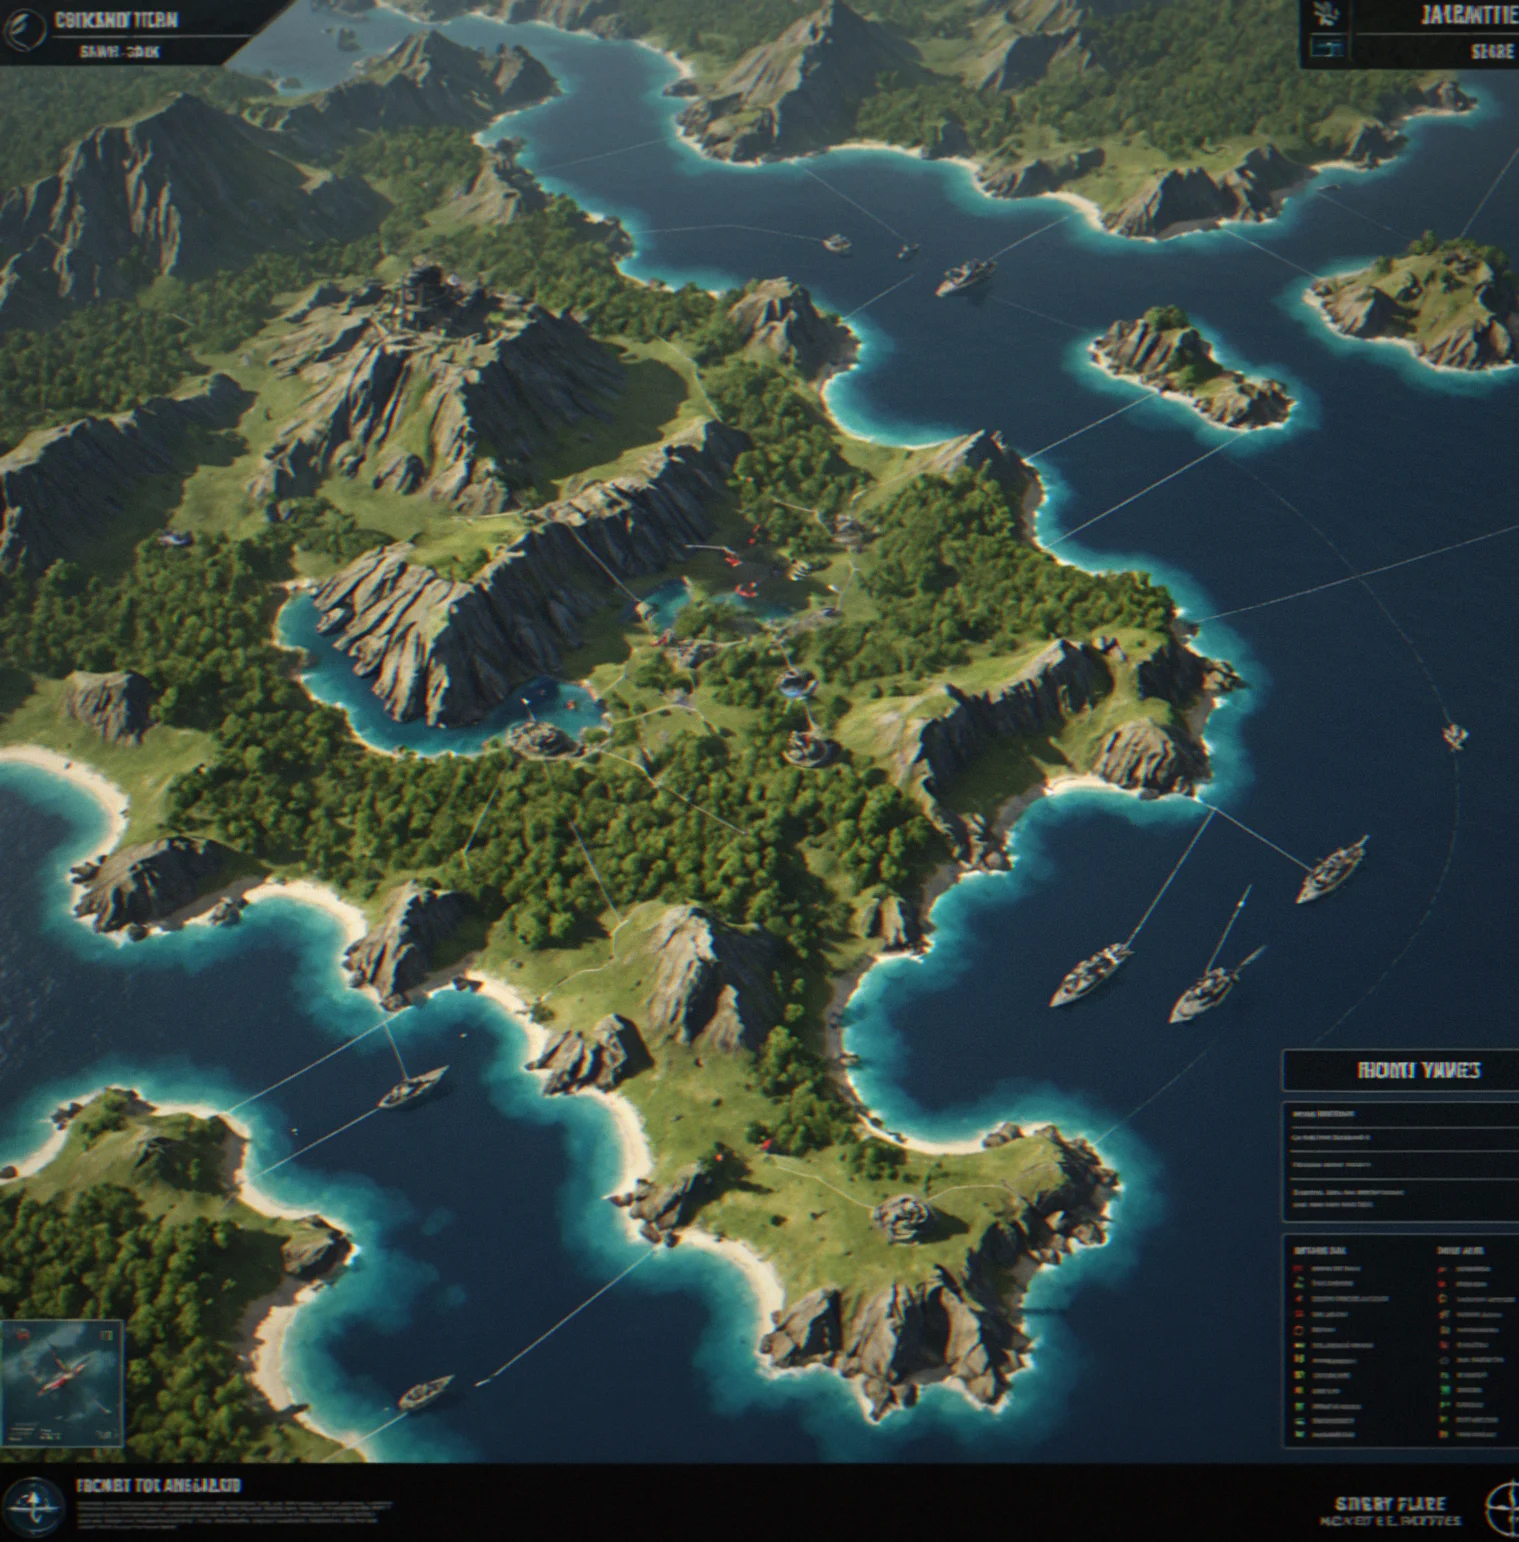
You lock in your moves—fortify this island, harvest that resource, sail the fleet north—then the enemy responds. No real-time panic, no twitch timing. Just clean tactical thinking where your choice actually sticks because you can't take it back.
Frequently Asked
Actual questions from people playing. Straight answers. Nothing dressed up.
What Makes PlayAnchor Different
Three things that actually change how you play
Procedural, Not Scripted
Maps generate differently each time. Islands show up in different spots. Resources aren't where they were last run. Choke points appear where you didn't expect them, so you can't just memorize one opening and spam it twenty times. You have to actually think.
Fortification as Strategy, Not Cosmetics
You decide which islands get the heavy defenses. Throw everything at one anchor point and it becomes almost impossible to crack—but your other islands fall apart. The system forces you to choose. Pour resources into one spot and you're weak everywhere else. Spread yourself thin and nothing survives.
Archipelago Demands Different Tactics
Water creates natural choke points. Supply lines are actual routes that can get cut off. Your fleet takes up space and position matters. This isn't a 4X game on a flat grid where you dump units everywhere. Islands are individual pieces. You hold them or you lose them. Resources move through specific paths, and enemies can block them.
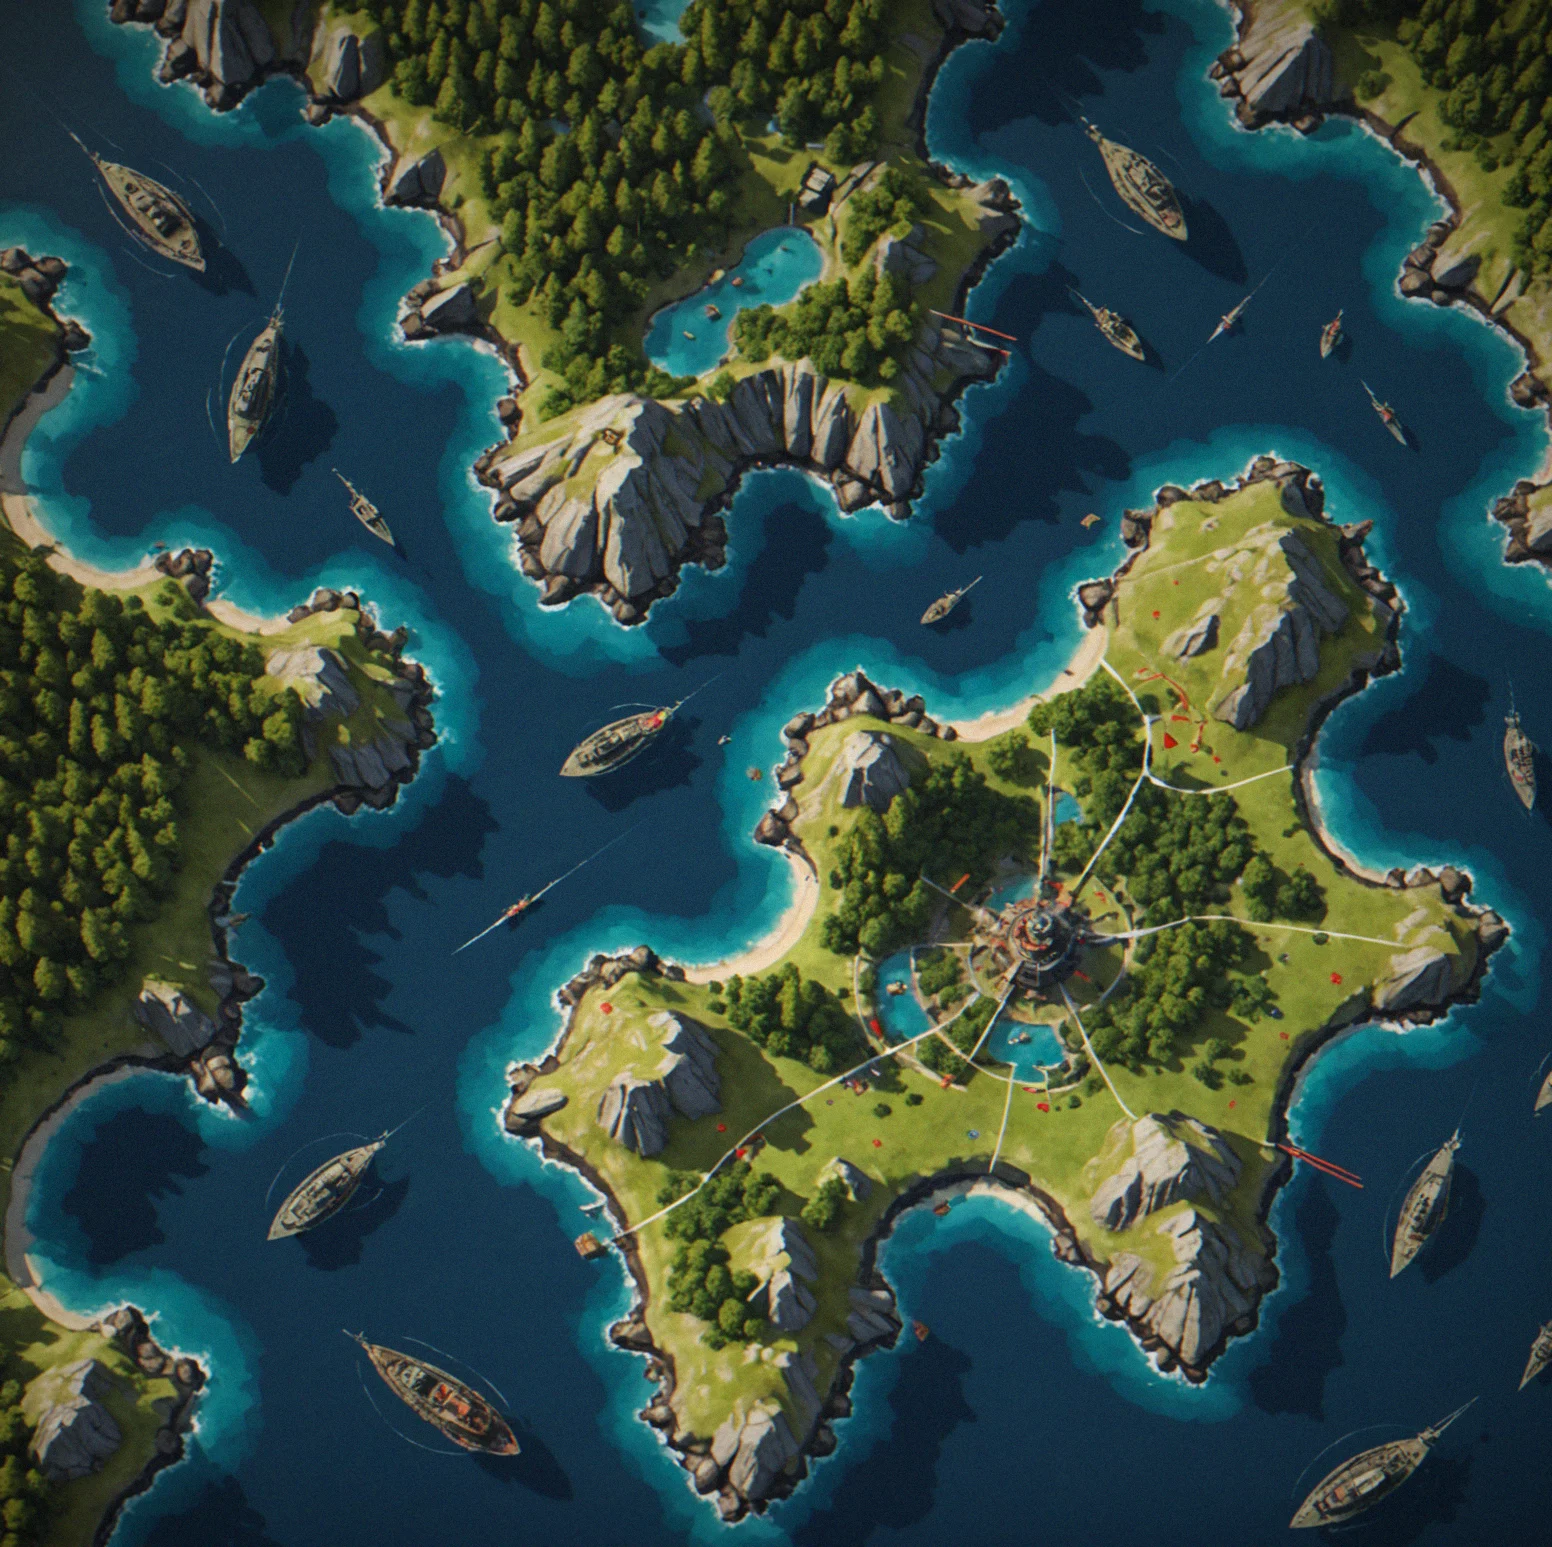
Mid-campaign and you're controlling the green islands. The red ones are getting closer.
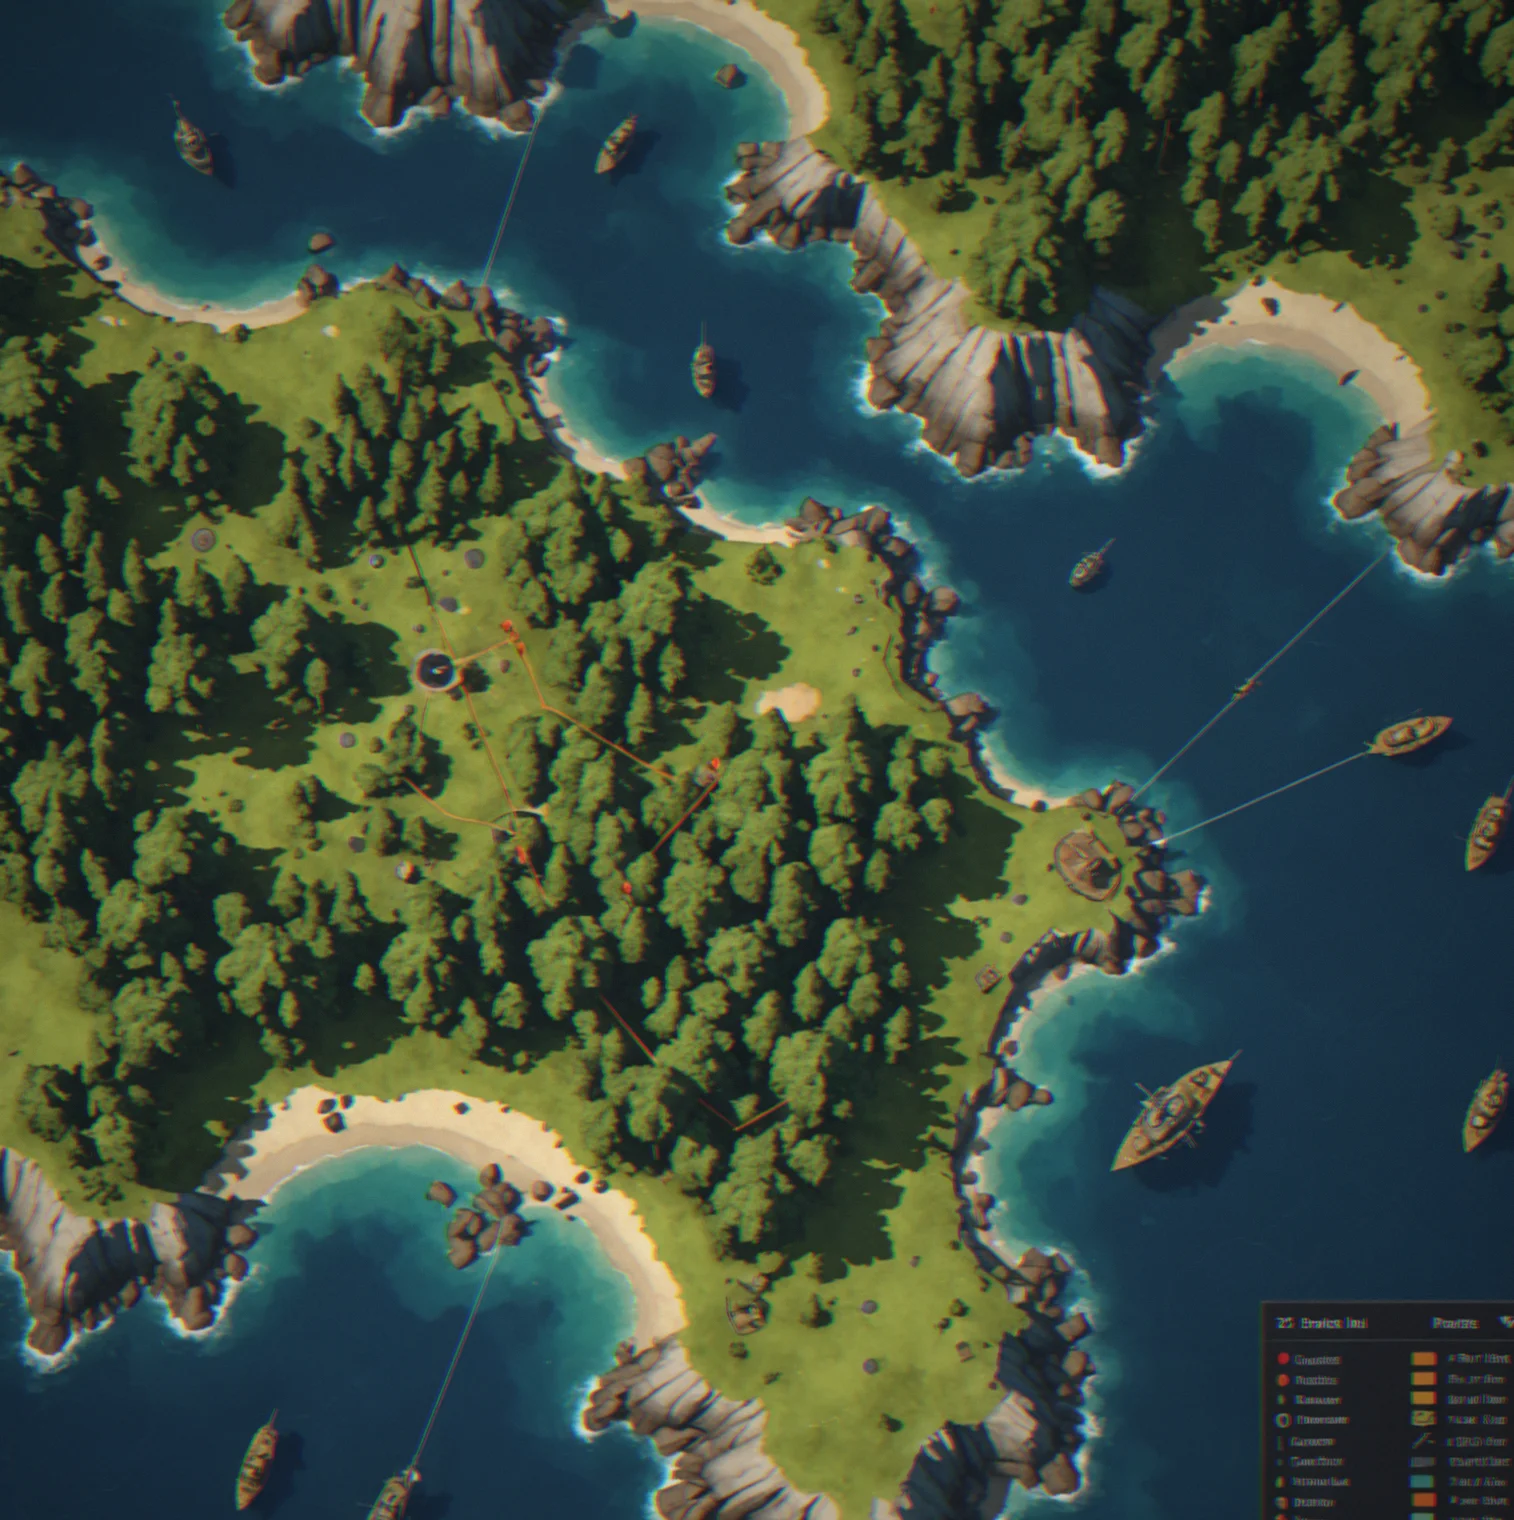
Wood's rnuning dry. Metal holding steady. But your provisions? That's the real problem.
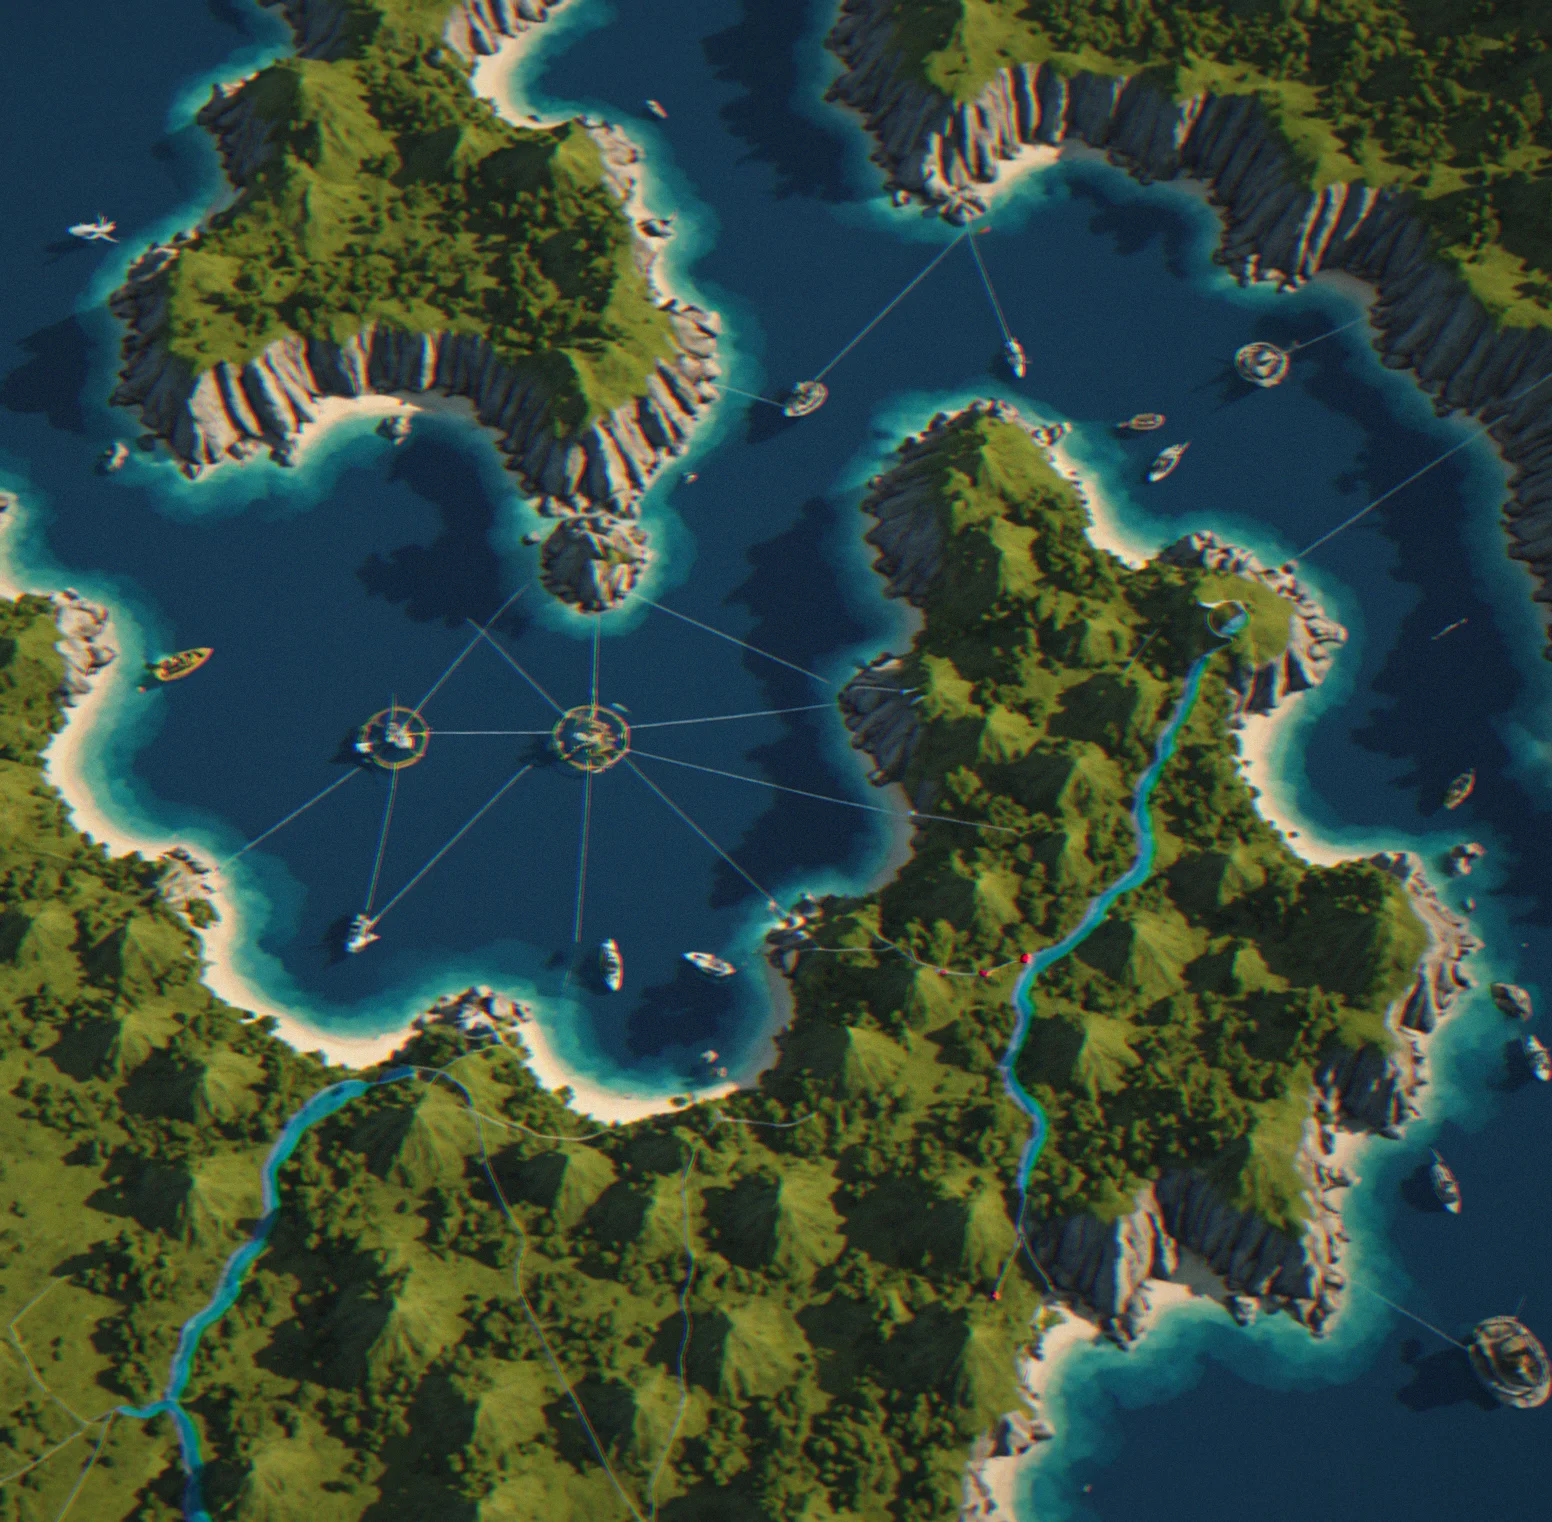
Block that supply line and their garrison collapses in just a few turns. Assuming you can actually hold the position.
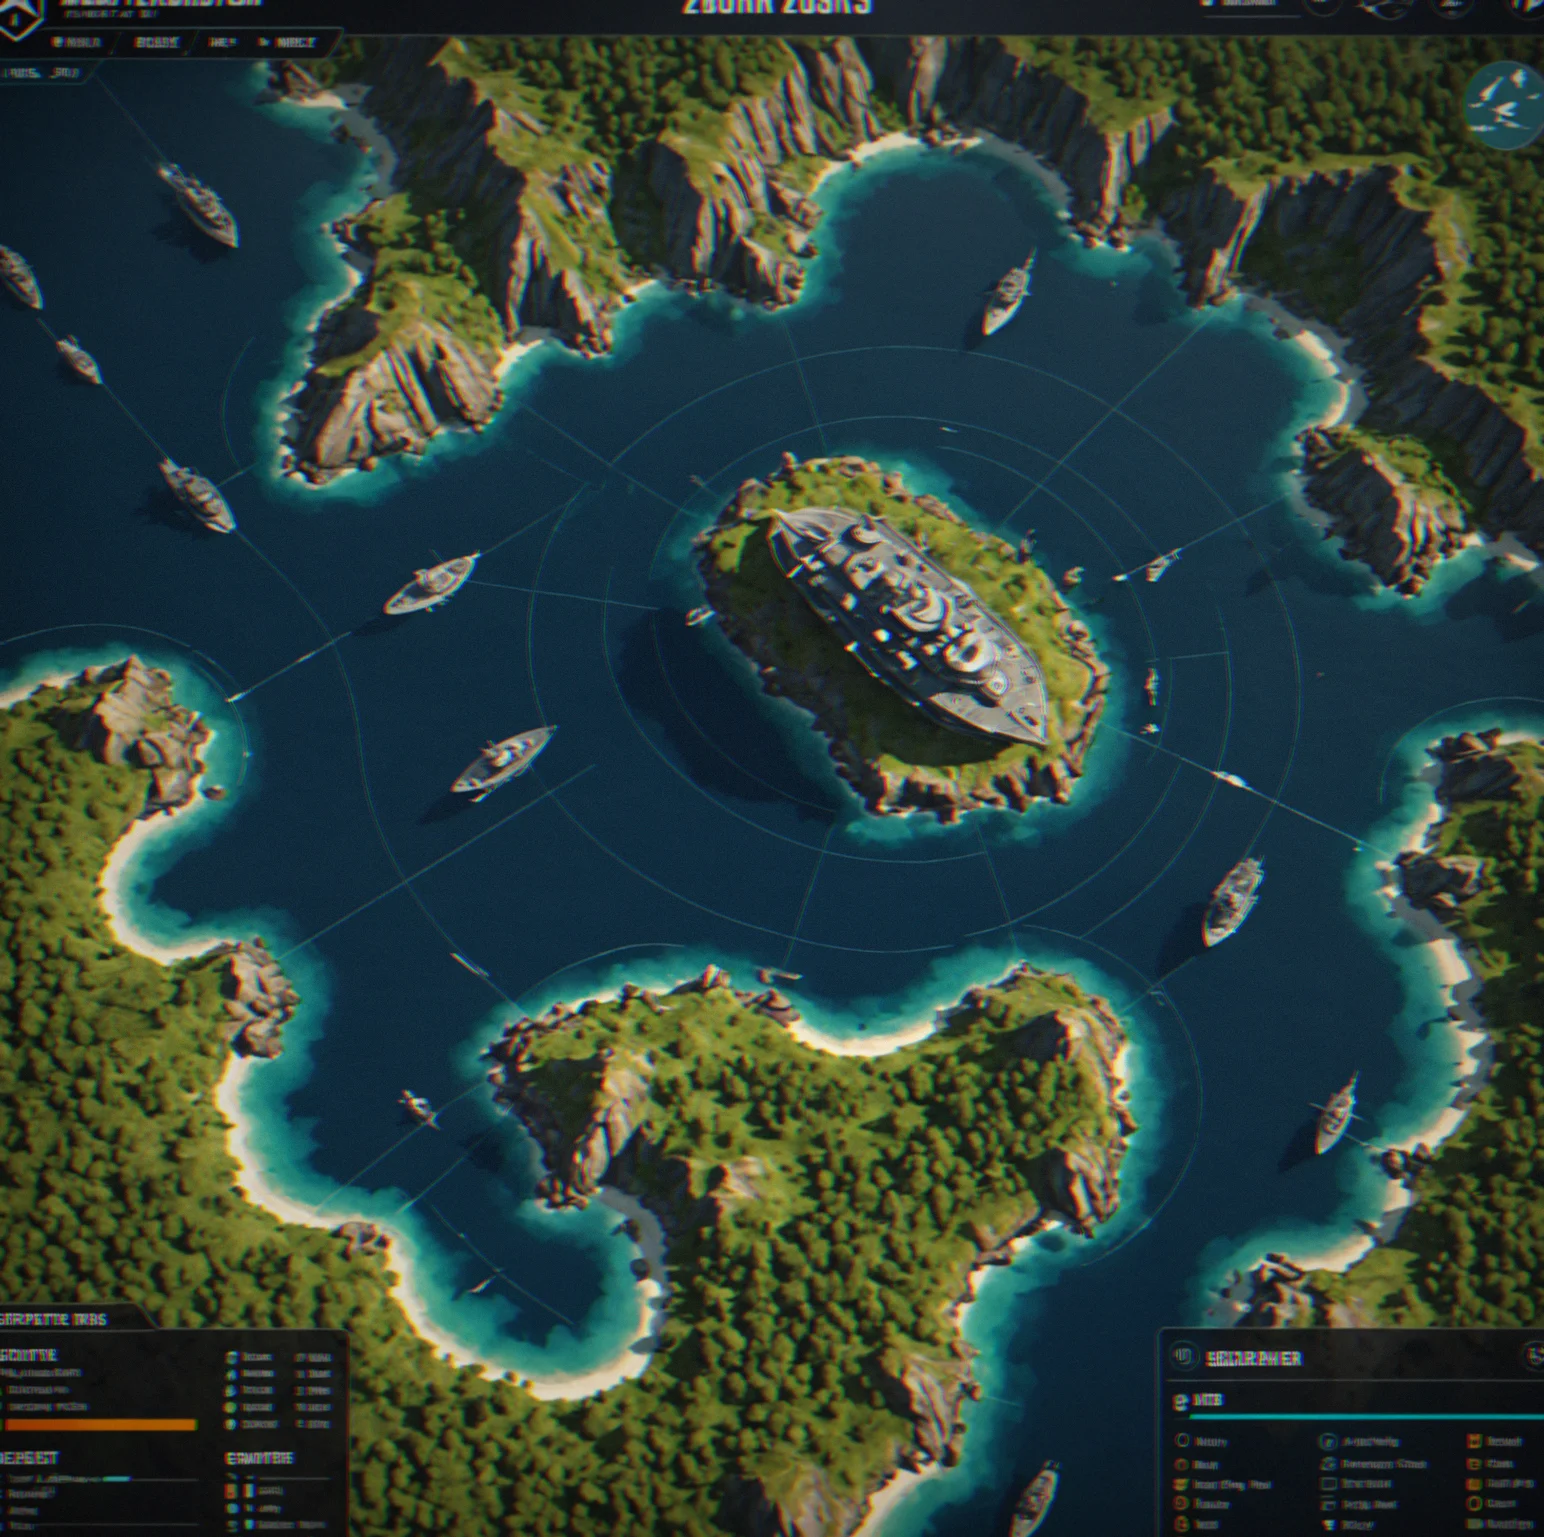
Your flagship's morale is solid around 80 percent. The frigates are rougher—one's at 60, and you've got another sitting in dock for aobut six more turns.
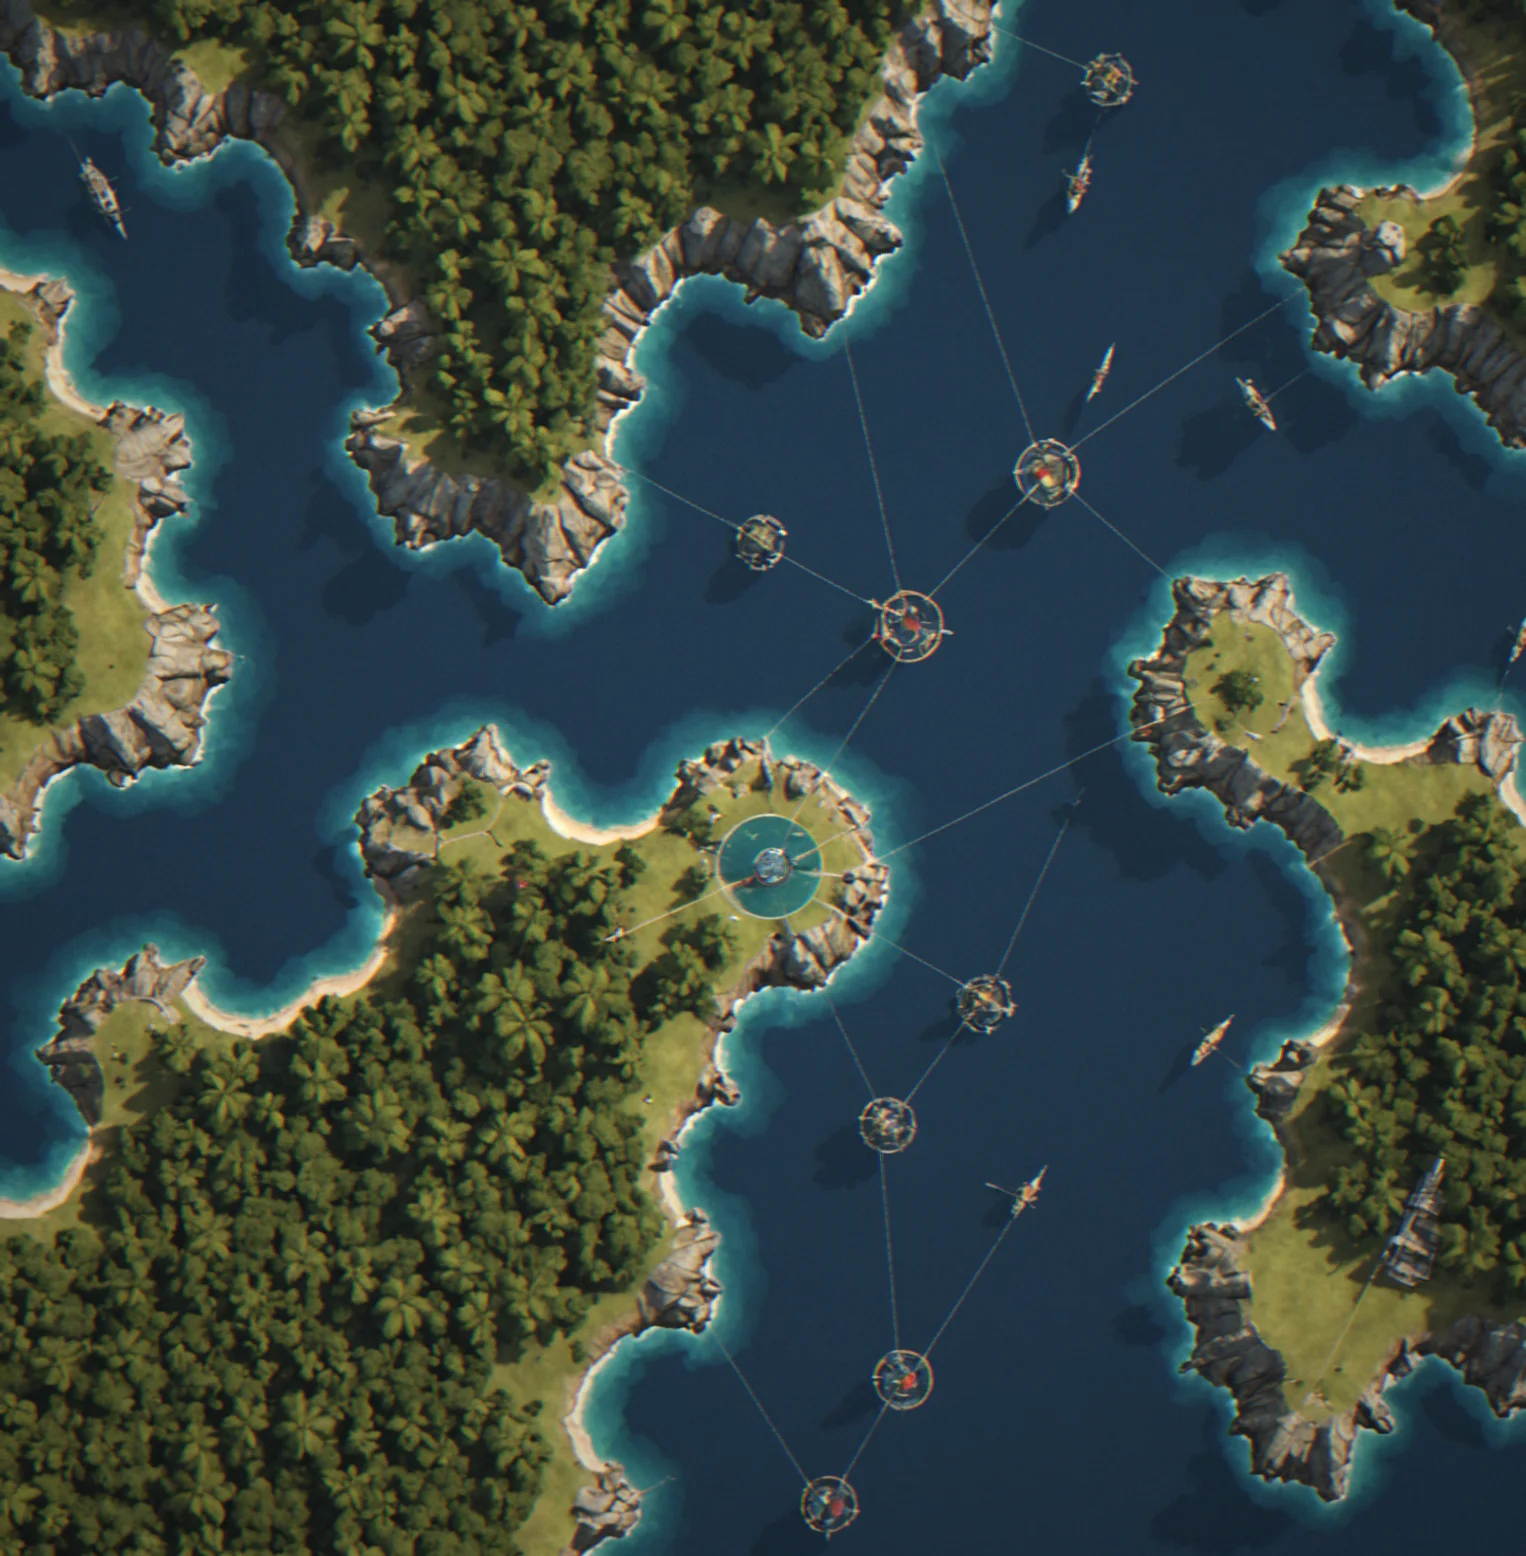
Three different attack routes coming in. You can properly defend two of them. The third one's going to fall unless you've already thought ahead.
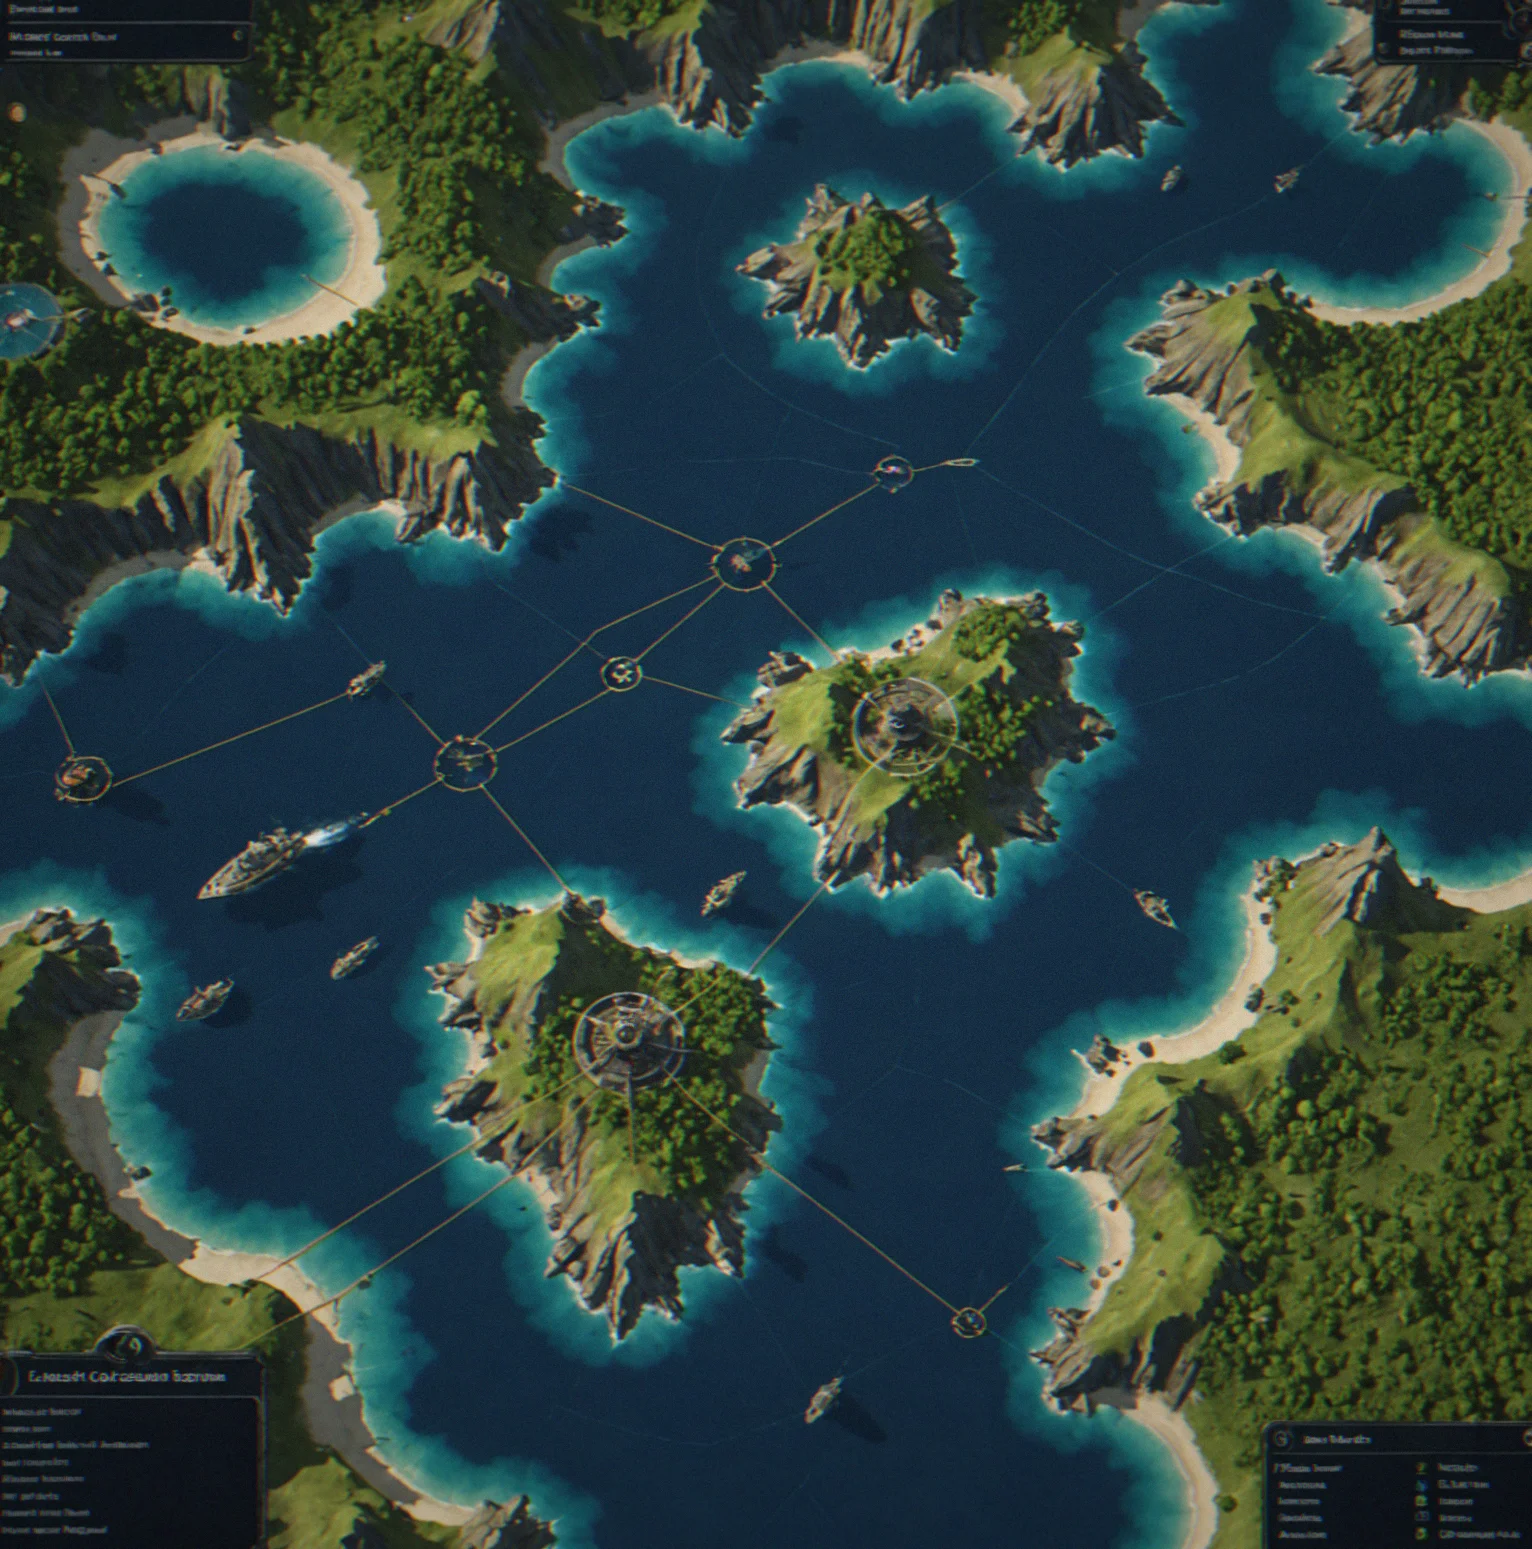
Took you most of the month to get here. One frigate lost early on. Core islands stayed in your hands. That counts as a win.
Inside PlayAnchor
See what happens when you make a tough call. These are real moments from actual campaigns, not polished marketing shots—where one decision either sets you up for the win or unravels everything.
Campaign Moments
Real screenshots from actual games. Not the polished stuff you'd put in a trailer—just what actually happens when everything collides and you have to make a call. No scripted story beats. No checkpoints where things magically work out. Just your moves and what comes next.
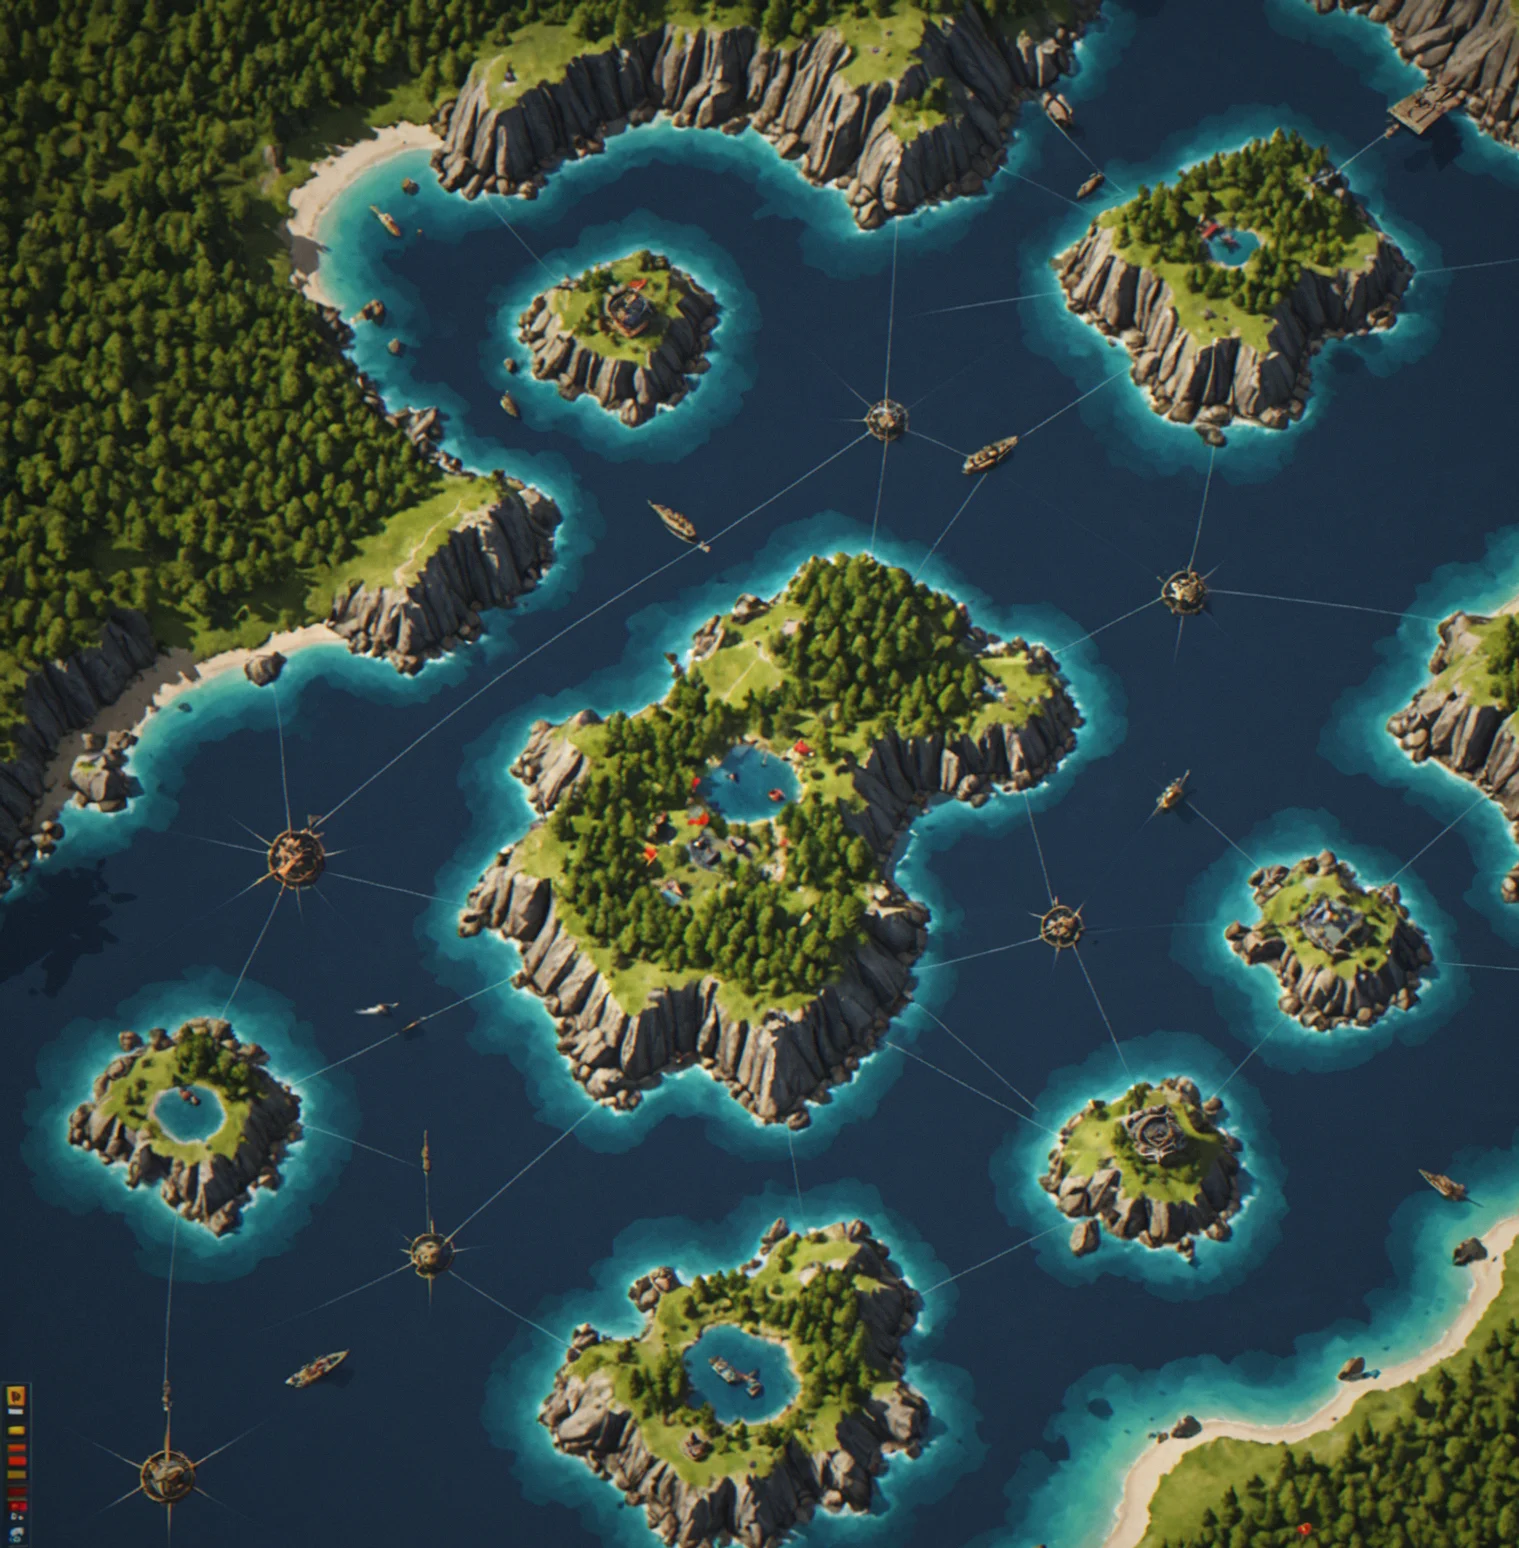
Turn 8. Three strongholds in place. Enemy patrols are still figuring out their routes.
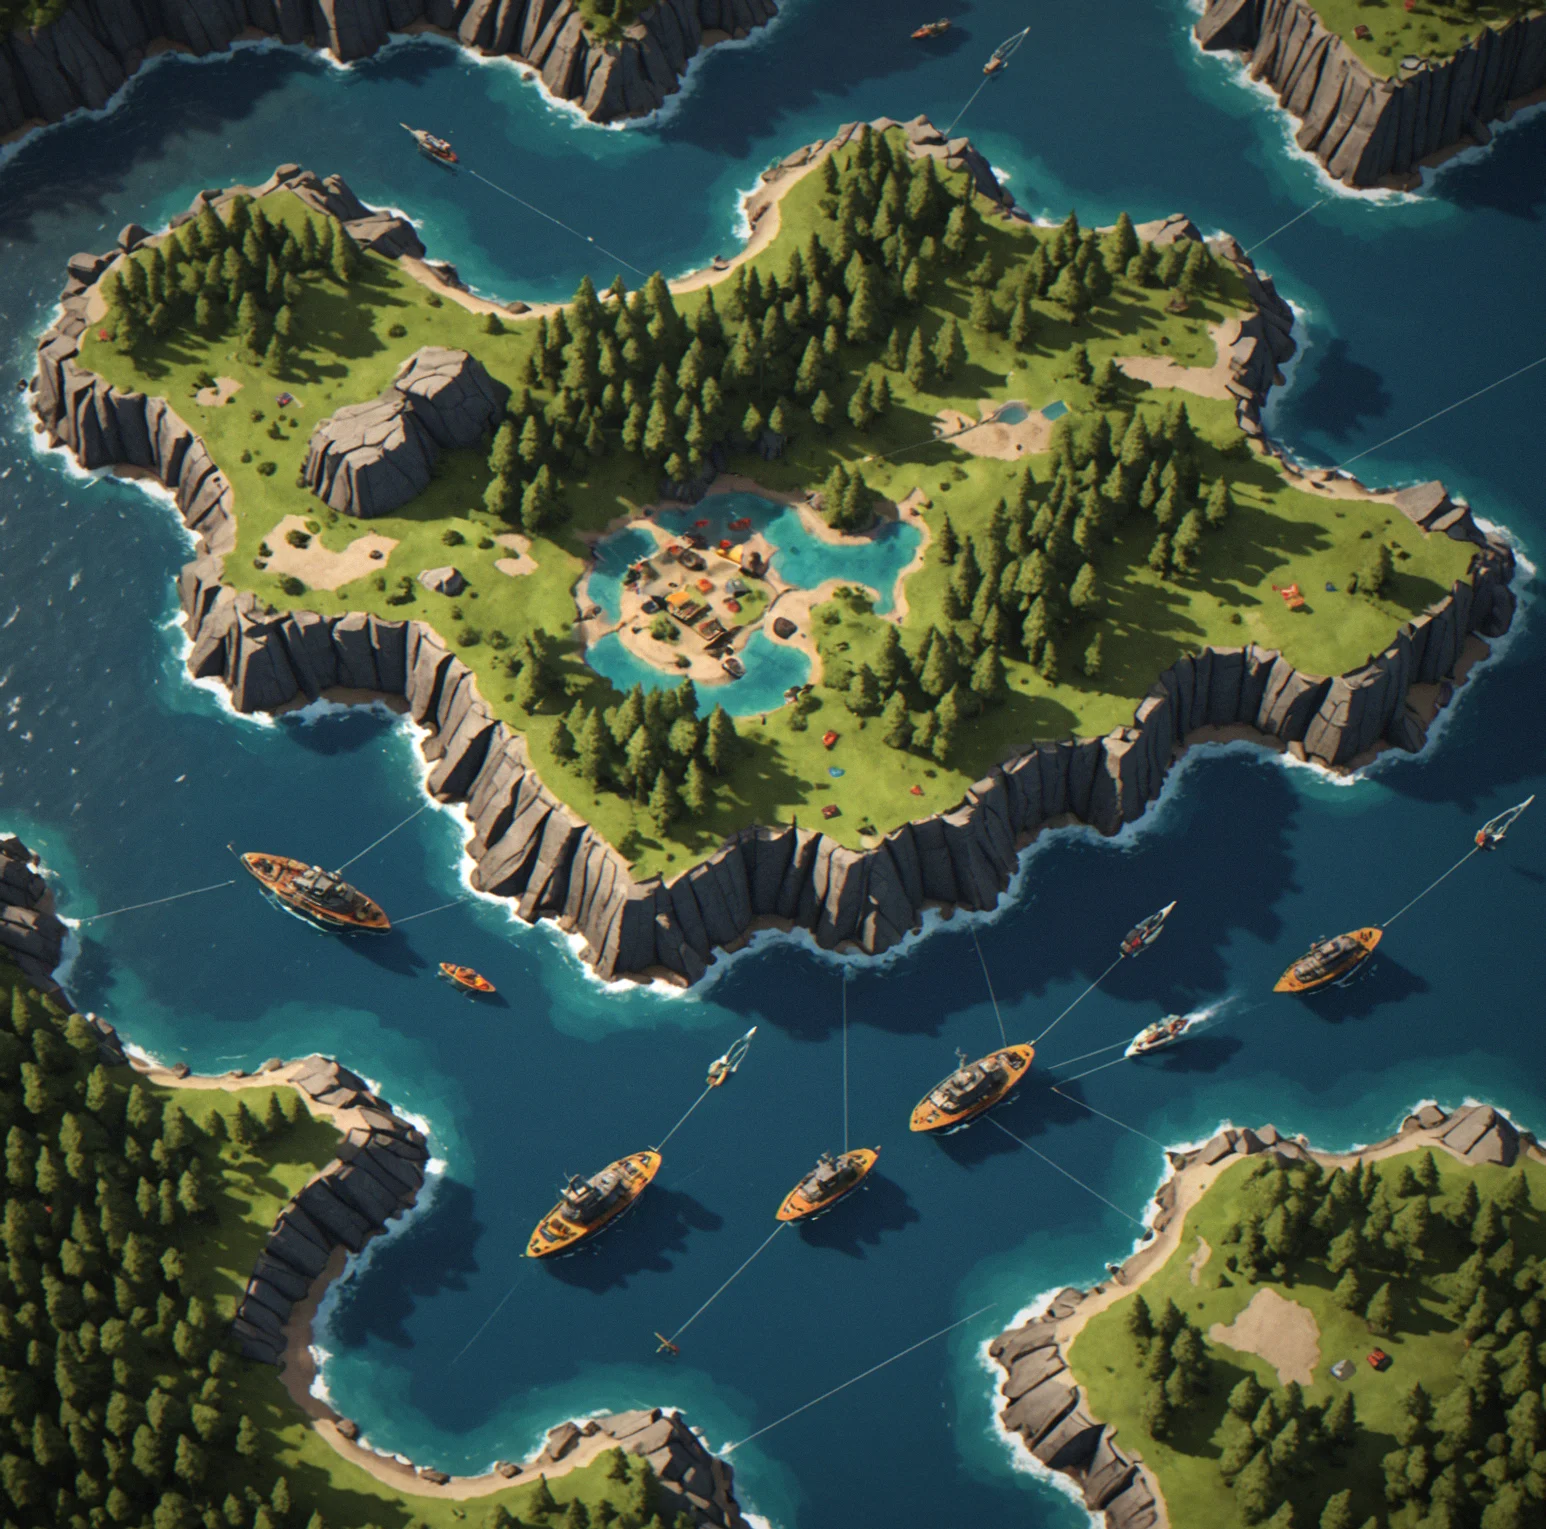
Running short on wood. Metal's okay. Food becomes a problem in the next couple turns though.
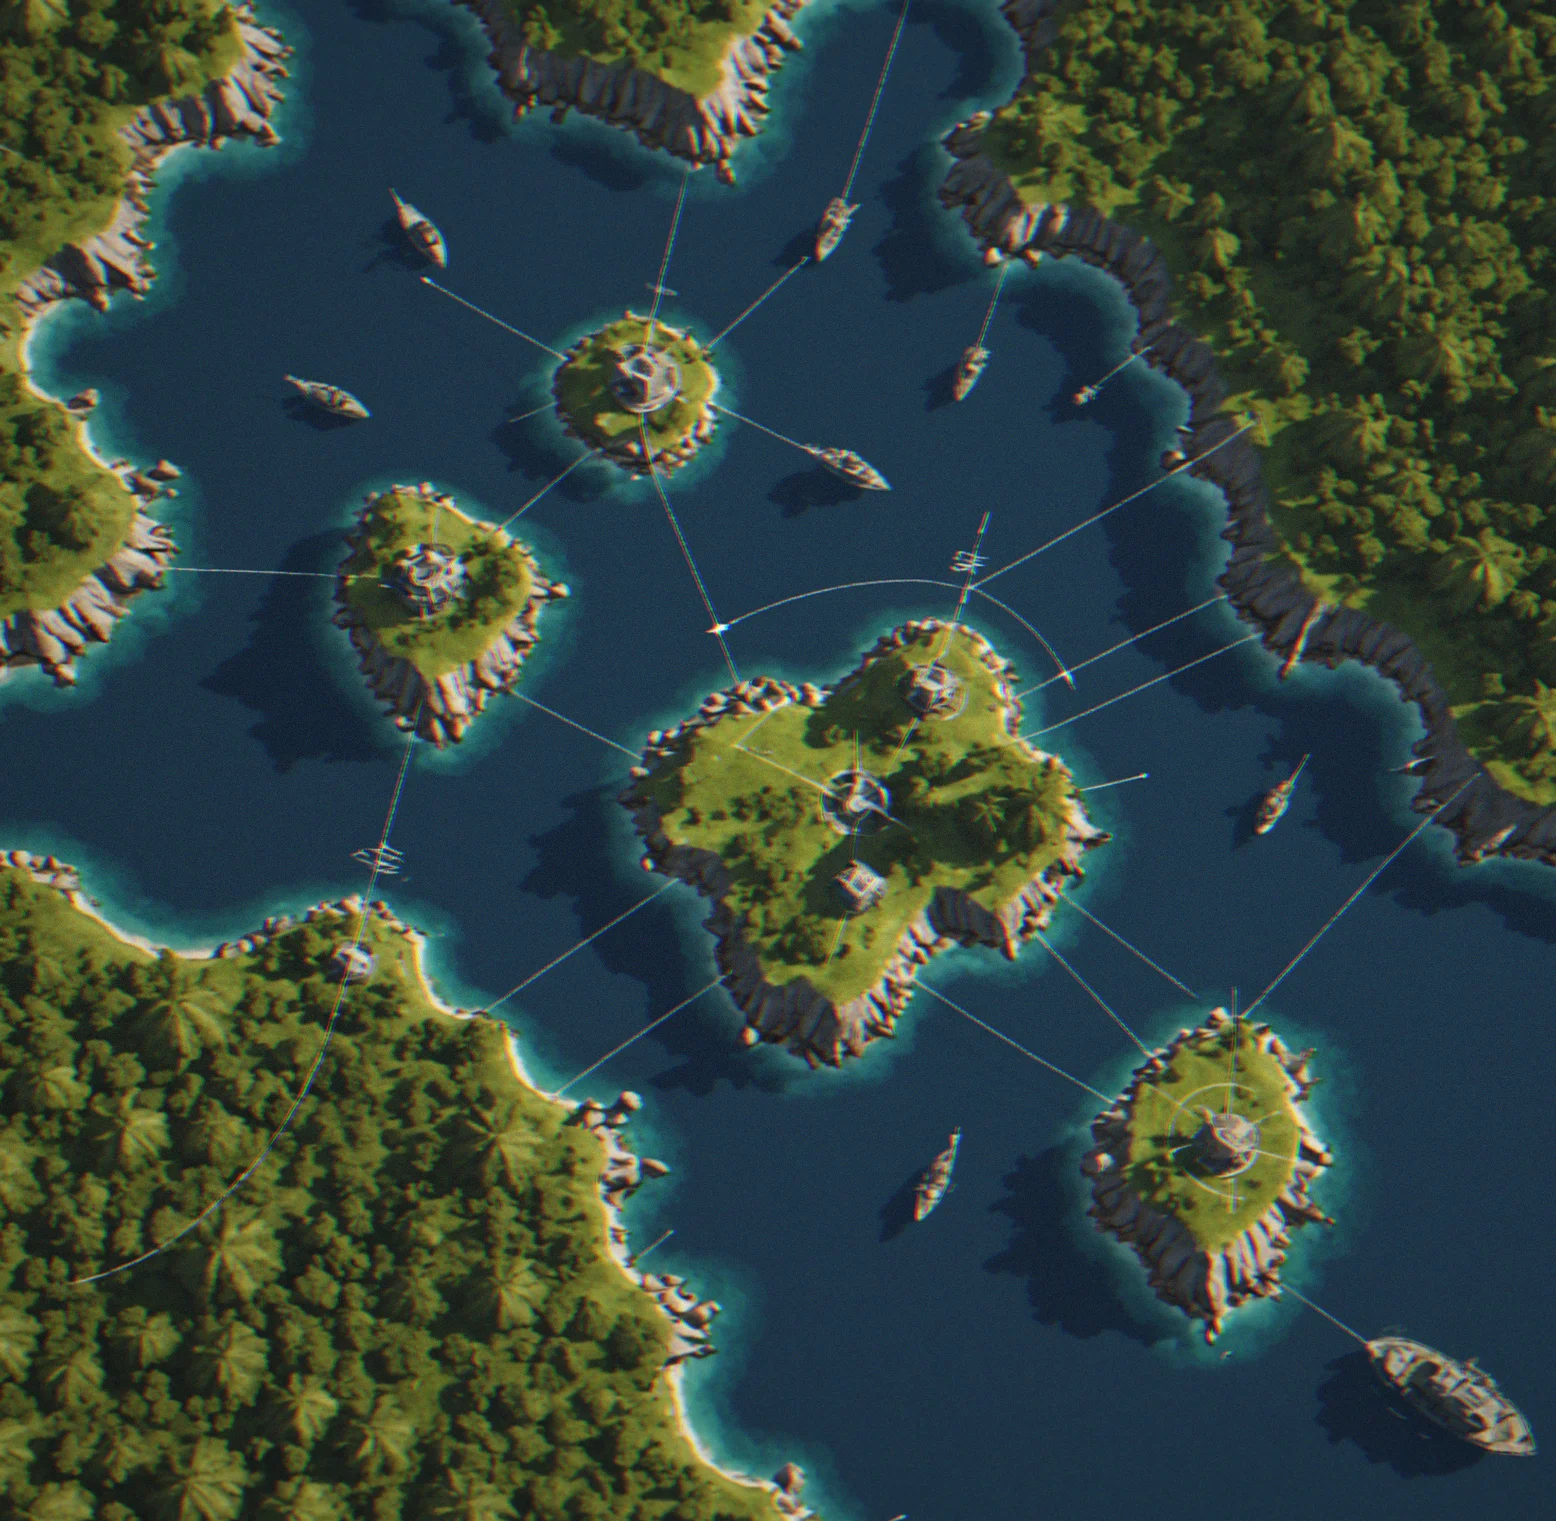
Put everything into the eastern stronghold. Left the west exposed. Sometimes you just have to pick what you're willing to lose.
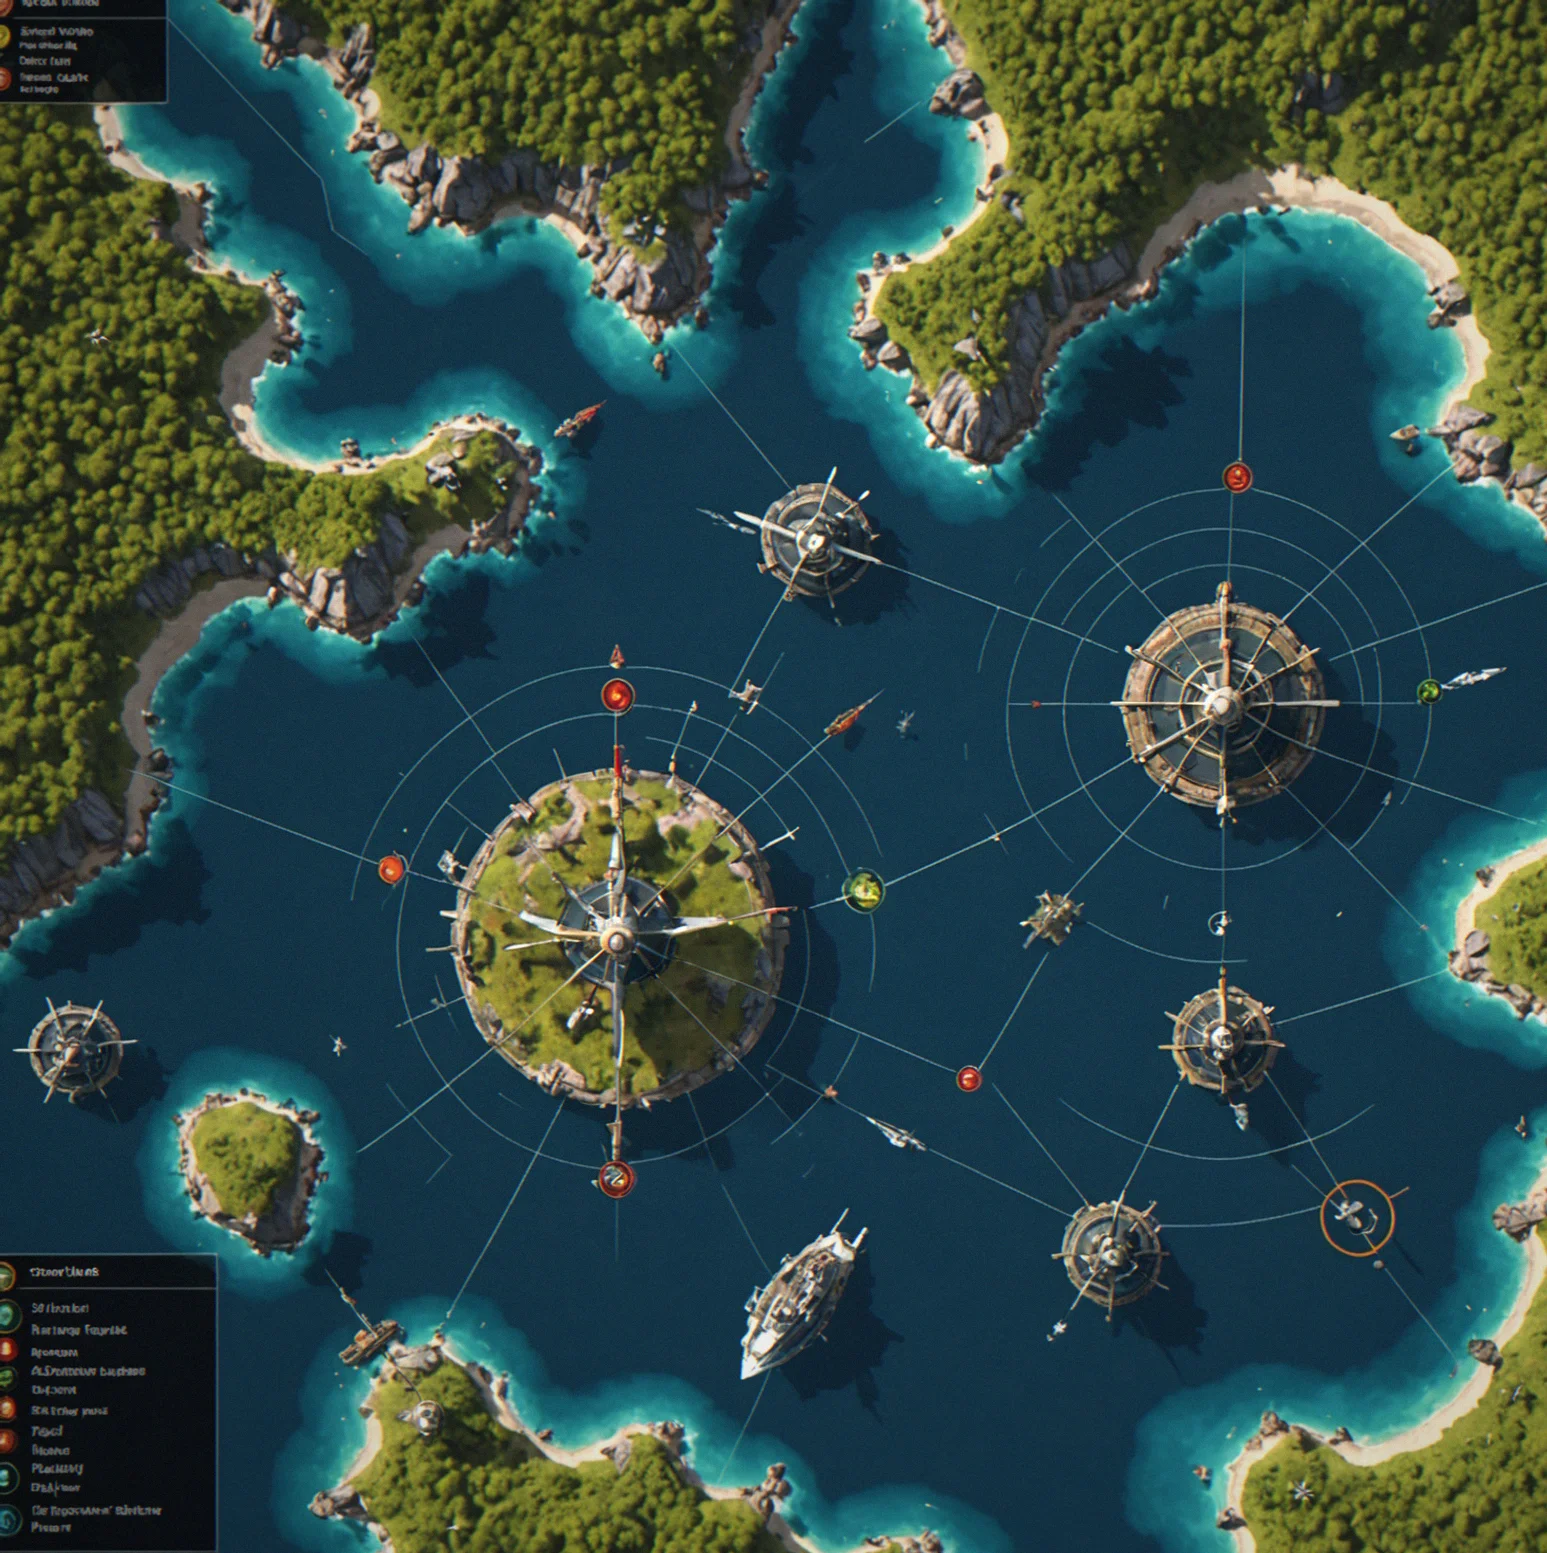
Five attack groups coming at once. Four turns until they hit. Either spread yourself too thin or something's going to fall.
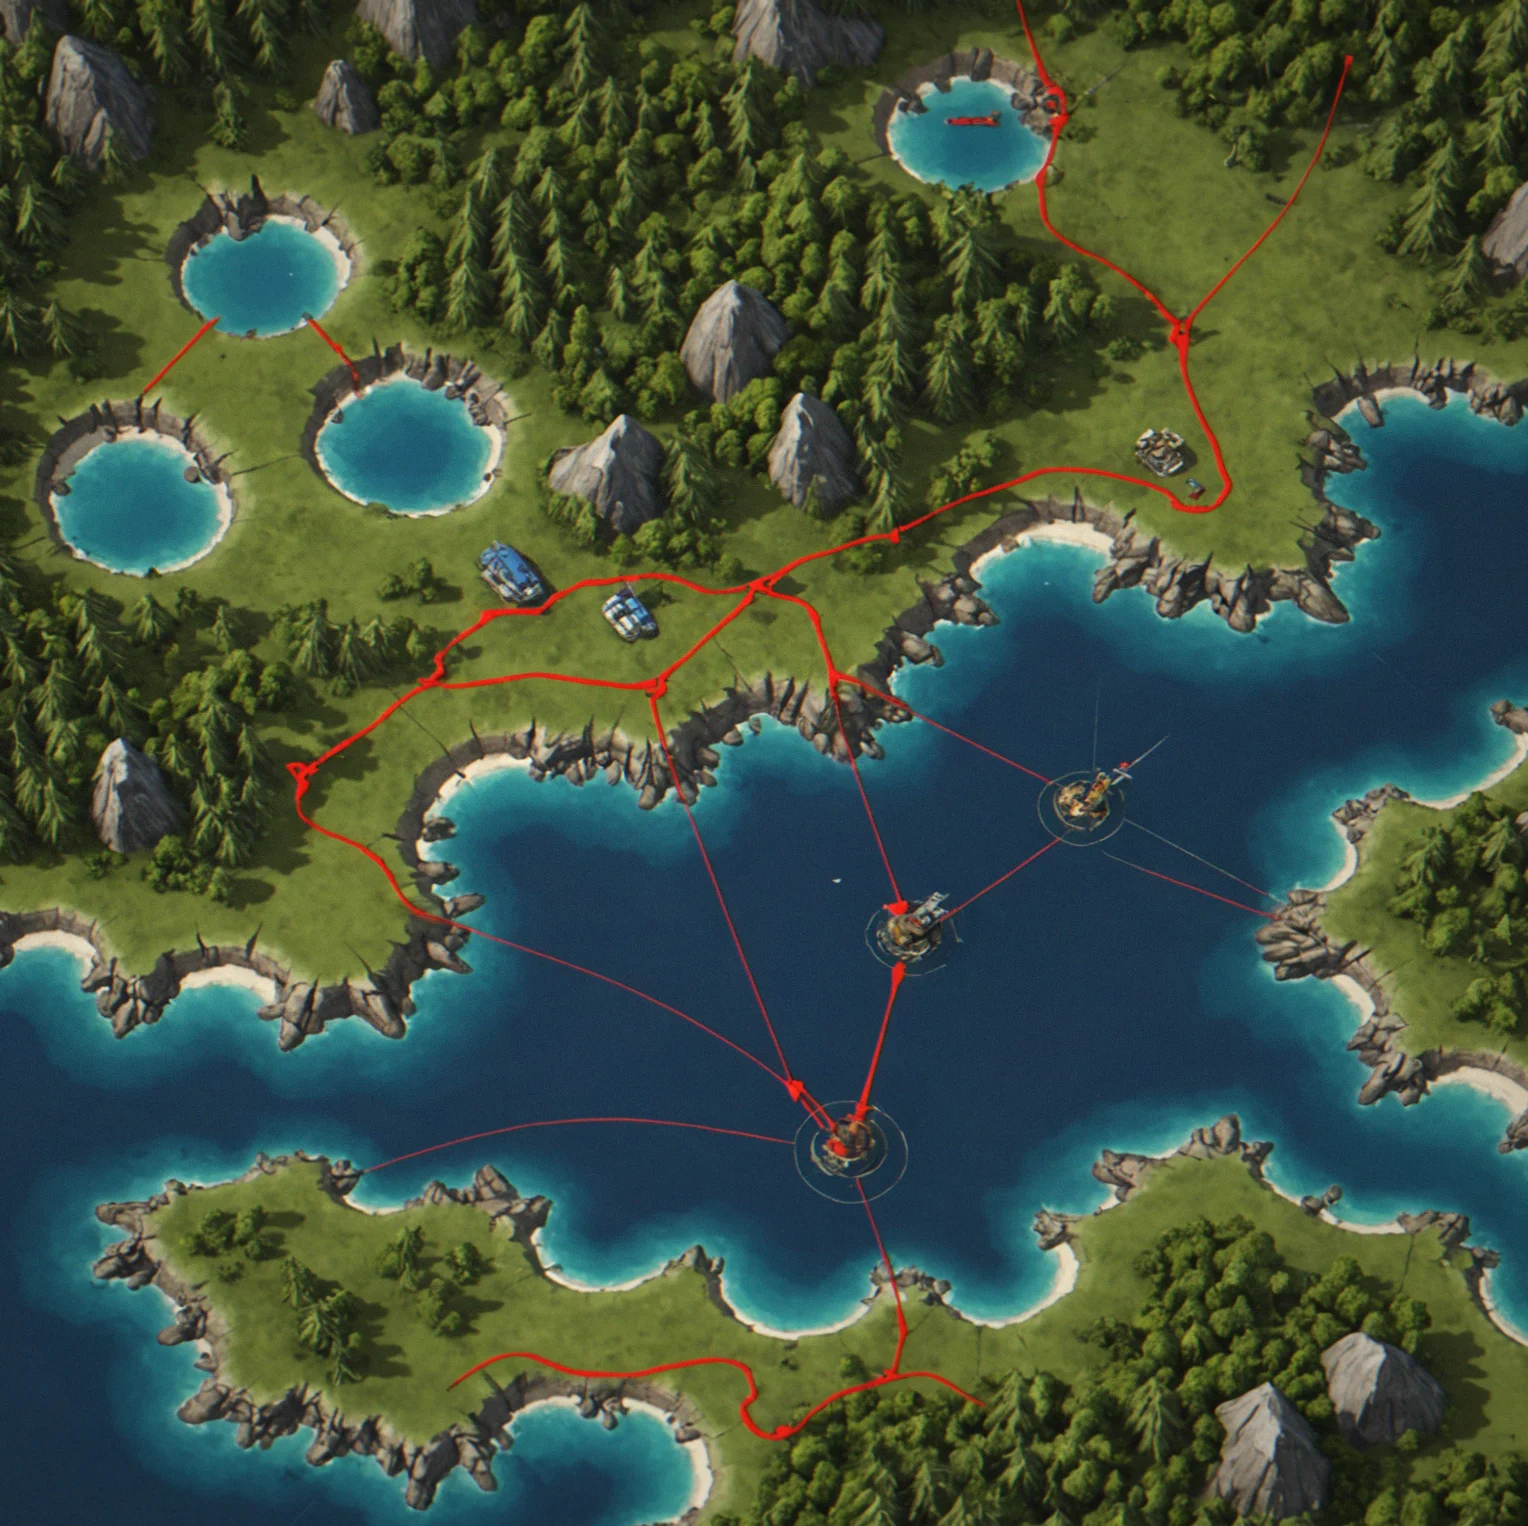
Northeast garrison's starving. Can't get supplies through for another couple turns. Do you hold or pull back?
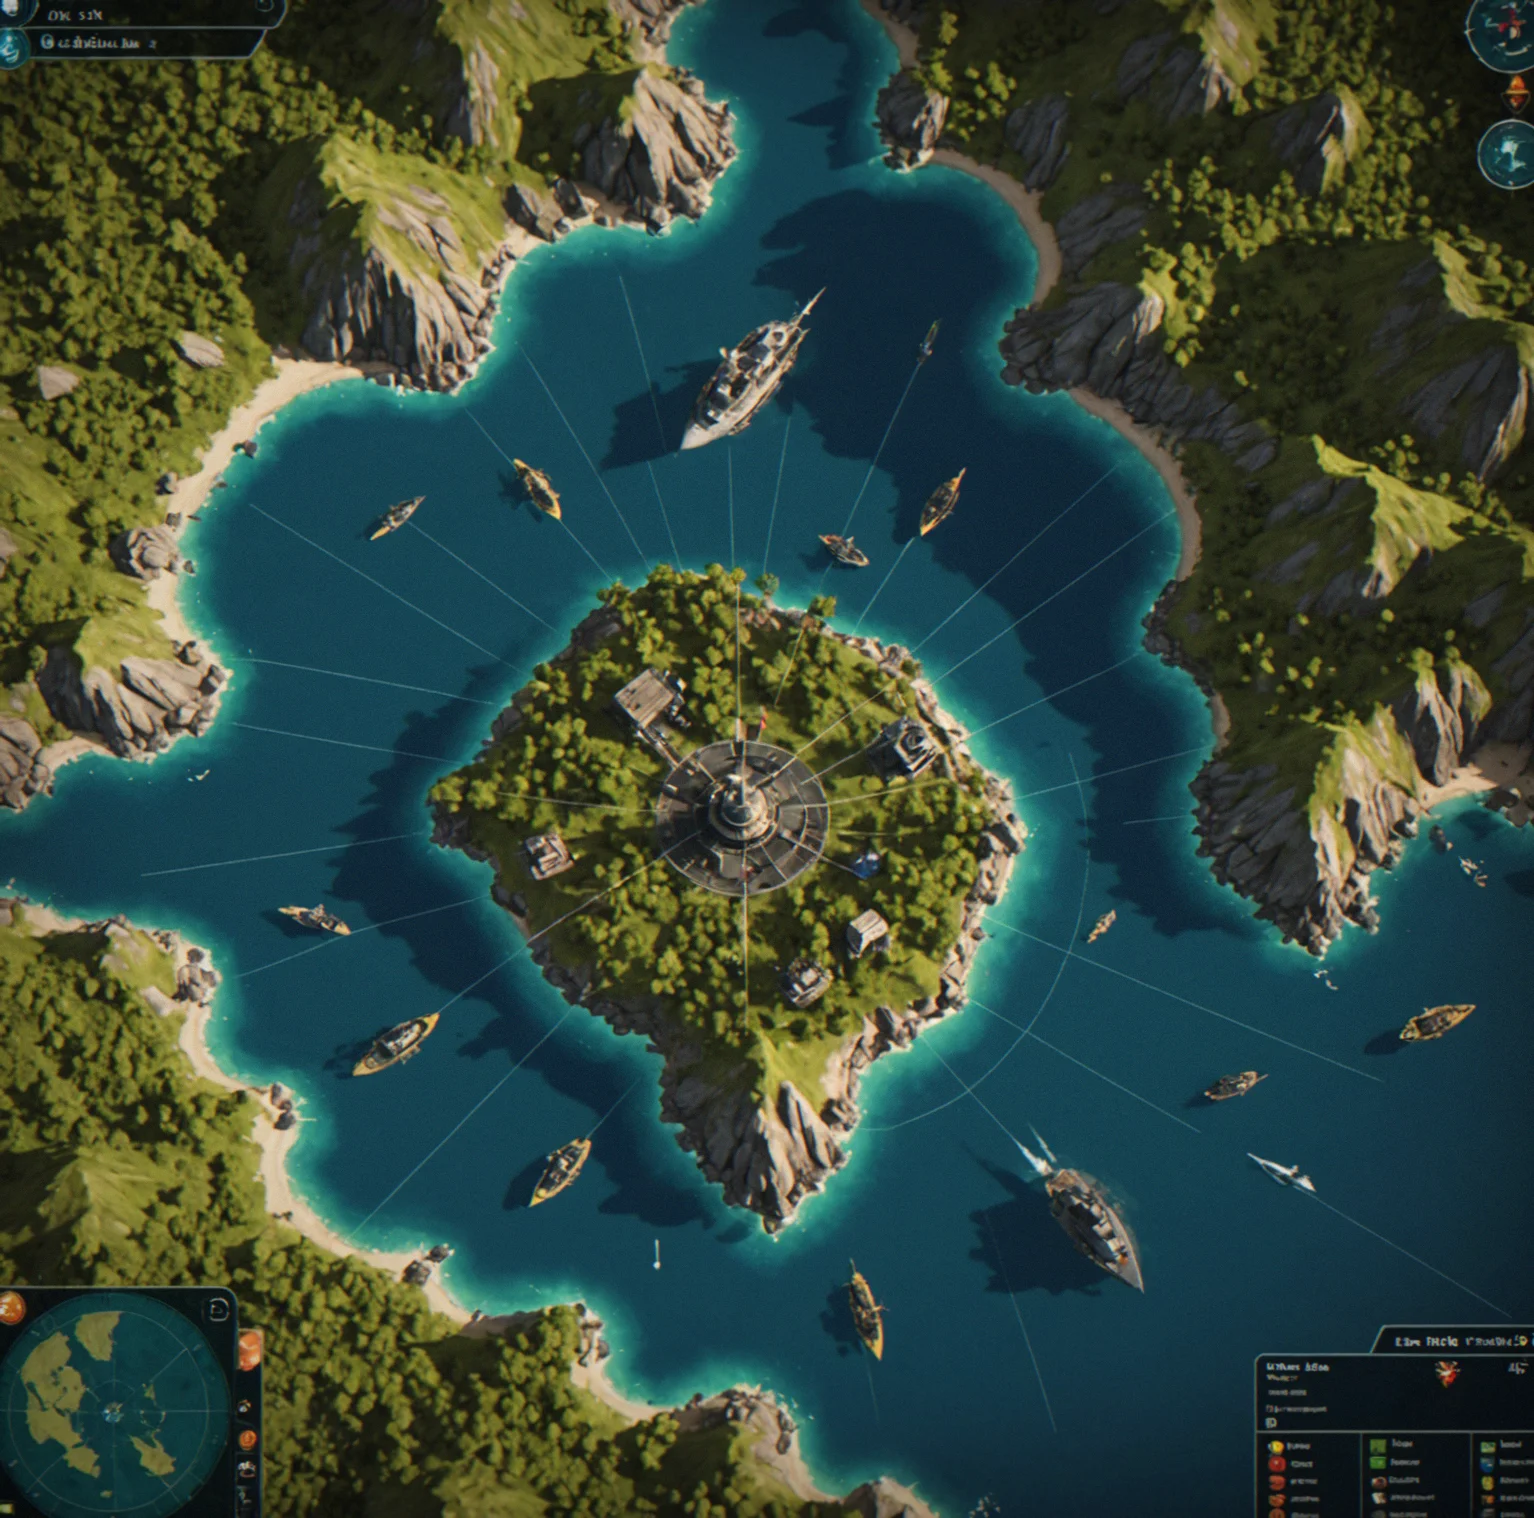
Went 47 turns. Lost the north early—around turn 34. Regrouped and held the line. Made it through.
Get in Touch
Found a bug? Have an idea for a mechanic? Want to talk campaign balance? Send it over. We actually read this stuff.
Why Contact Us
- Your feedback actually goes into the next update.
- No bots. A person will read what you wrote.
- Bugs get looked at first. Balance complaints get discussed seriously.
Your orders matter here.